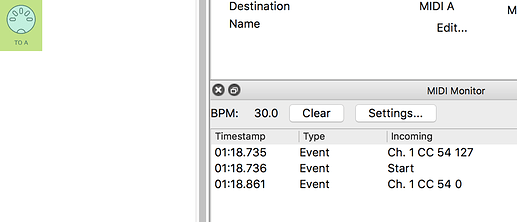
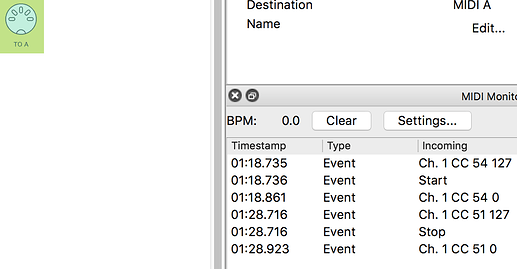
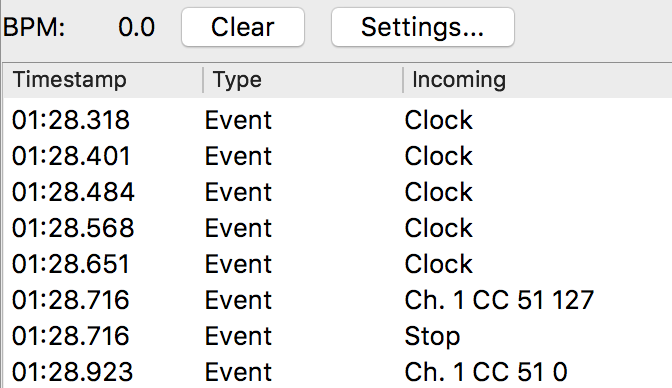
In Step-by-Step.02, we sent some messages out of Midihub and saw the LEDs change.
Now it’s time to hook up some devices to the inputs
Part 1: Monitoring input A
Long before Midihub and USB-MIDI, MIDI musicians would often make connections with boxes like these to split and merge MIDI data:
With many of these units, everything that came into a unit also went out.
With Midihub you can make routings like these and much more.
Midihub Editor allows you to make these connections and see what is going through them.
Let’s start!
Cables needed: USB & 2 MIDI cables.
Other gear: Two MIDI input devices (a MIDI controller/keyboard, a sequencer, etc),
plus PC/Mac with Midihub Editor
We’re going to use a Sequencer on MIDI-A…
…and a MIDI controller keyboard (with an arpeggiator) on MIDI-BIf you do have two output devices which can set BPM use those…
…otherwise follow along with Midihub and your devices.
First, let’s make a version of the “2 to 1 MIDI MERGE BOX” :
Connect Midihub to your PC/Mac
Connect your two MIDI devices…
…connect their OUT ports to Midihub’s MIDI IN-A and IN-B.
(Switch all three on!)
Connect click Connect in Midihub Editor
Start a New patch and drop in the pipes you need to make
![]() try it yourself …then check below…
try it yourself …then check below…
... it should be like this:
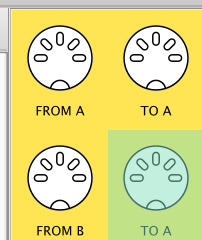
Now we’re going to use the MIDI Monitor…
…to see what the devices are sending to Midihub
Your MIDI Monitor display will depend on what devices you’re using;
Your devices probably won’t behave the same as what you see below.
Look at what’s happening in the examples then try something similar with your devices
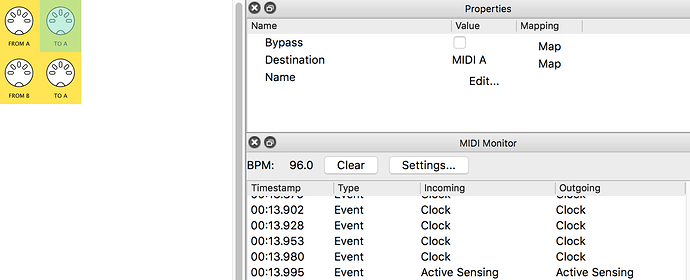
First look at MIDI-A OUT:
Too much to see…
This set-up has a sequencer in MIDI-A…
which is sending out Clock and Active Sensing…
…So it’s hard to see any single event before it scrolls from view:
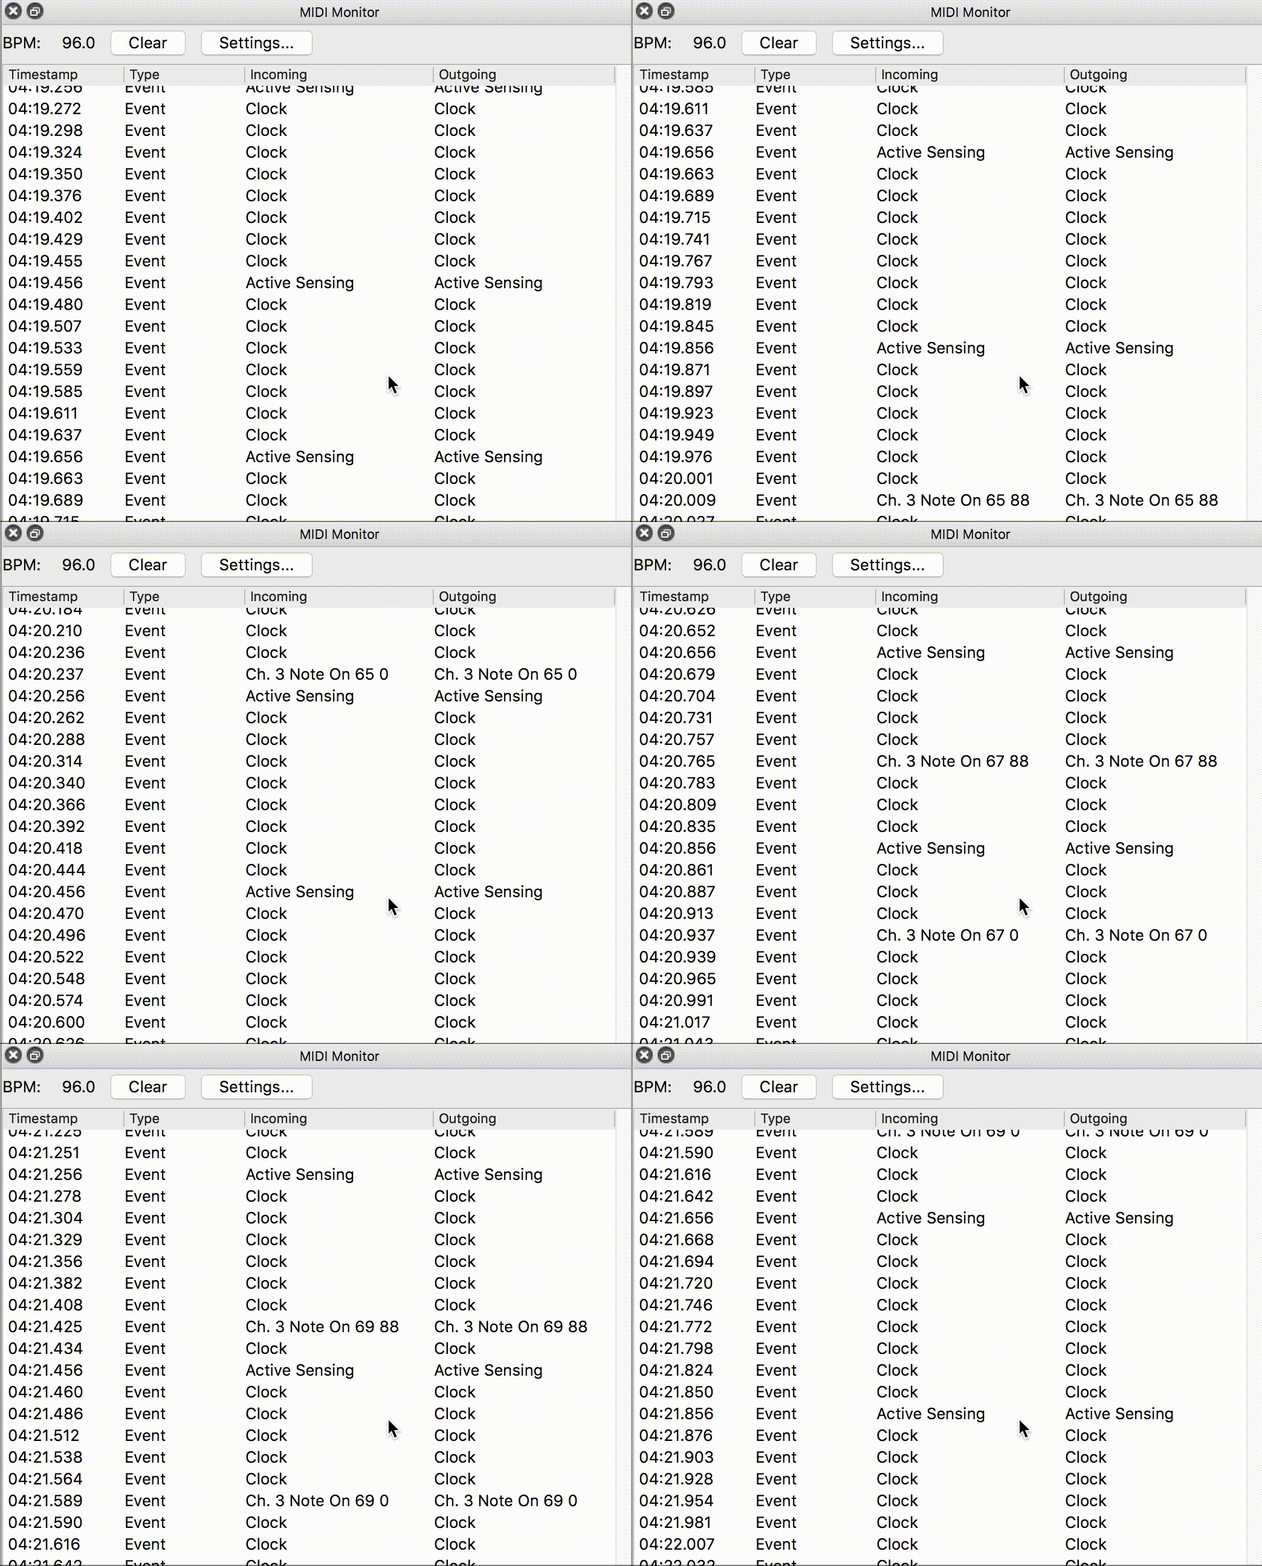
(If all that stuff rushing by makes you anxious, you’re not alone!)
Now let’s calm things down…
… by Filtering out the messages we don’t need to see right now:
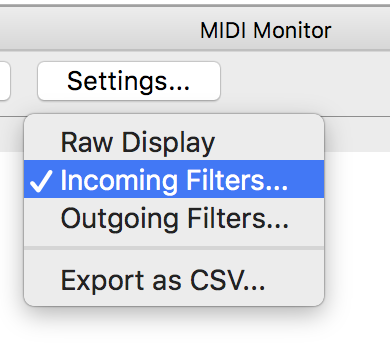
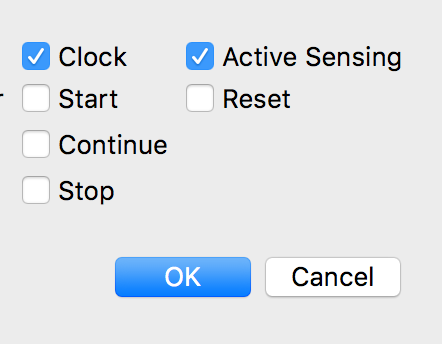
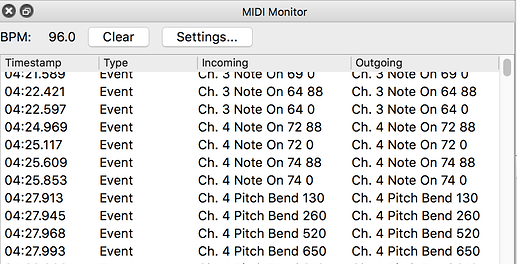
Now the Monitor shows just those events that are left:
Now we can see properly the events we might want to look at
Experiment with
MIDI Monitorand see how filters put you in control!See what’s in your Monitor…
… and try turning Filters on, seeing less and less
…and off again to see what you want
A little later…
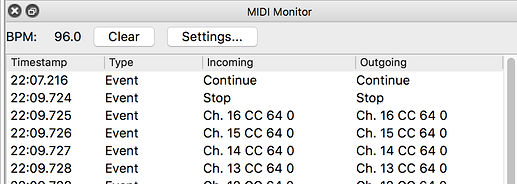
…we try starting & stopping the sequencer to see what that gives:
this sequencer outputs CC on several channels when it is stopped.
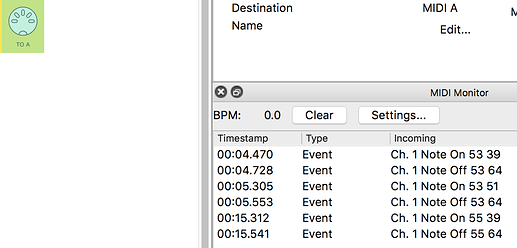
We could just focus on one channel:
…giving…
Now we’re just seeing Continue, Stop, and Channel 3 events
(…and it becomes clear that this sequencer sends out CC64 &CC66 on every channel when it stops.
That’s useful to know if a target device uses these CCs!)
![]() Now with your setup… ,
Now with your setup… ,
....depending what it is...
…try:
- hitting some keys
- turning knobs
- pressing buttons
- pushing Pitch Bend
- pressing play|stop|rewind
- changing Program/Preset, etc, etc
As you try different actions…
change your MIDI Monitor Filter:
- look out for any events you didn’t expect,
- also SEE that when you remove filters, the events are still there
- lastly, SEE if you select a different pipe, it clears the Monitor! (easy to do by mistake!)
Using MIDI Monitor filters makes it much easier to focus on what you want (and maybe need!) to see
You will need this patch in the next section, so Save it as ‘Merger2to1.mhp’ or something useful.
Now let’s monitor the second pipeline…
