Image found on https://www.pexels.com/photo/multicolored-smoke-1020315/
Goal: Build a simple PD patch demonstrating the different kinds of parameters available and getting them into the App.
Difficulty: Intermediate
Optimized for Headless Use: Yes
Recommended Raspberry Pi Models:
- Raspberry PI 3B+
- Raspberry PI 3B
Required Hardware:
- Pisound
- Raspberry Pi w/ power supply and micro SD card
- Windows, macOS or Linux computer to connect via VNC, or monitor, keyboard and mouse to work directly.
- Android device to run the Pisound App.
Required Software:
- Pisound App for Android - https://play.google.com/store/apps/details?id=com.blokas.pisoundctl
- Pisound software package for Raspberry Pi - https://blokas.io/pisound/docs/Software/#installingupdating-the-pisound-software
- MEC package (Installed during Pisound software setup) - https://github.com/TheTechnobear/MEC
- Pure Data (
sudo apt-get install --no-install-recommends puredata gem) - VNC if not using monitor, keyboard and mouse: https://community.blokas.io/t/raspberry-pi-remote-control-raspberry-pi-via-vnc/600
Patch Download:
You may download the full patch here: https://patchstorage.com/basic/, but do go through the steps, they contain useful information in case you’d like to develop a patch from scratch.
Step 00: Updating if necessary
Make sure you have 1.03-2 version of the pisound-ctl package, in a terminal, run:
dpkg -s pisound-ctl
it should say:
...
Version: 1.03-2
...
If it’s a lower number than that, run:
sudo apt-get update
sudo apt-get install pisound-ctl
and it should upgrade it.
Step 01: Creating the patch files
In this step, we’ll create a set of files as a starting point for a brand new patch. You may find more detailed information on blokas.yml here.
-
Launch a terminal, or connect via ssh
-
Execute the following commands:
 cd /usr/local/puredata-patches
 sudo mkdir -p basic
 cd basic
 echo "#N canvas 2 95 450 300 10;" | sudo tee basic.pd
 sudo wget https://community.blokas.io/uploads/default/original/1X/8ea6c9dba43a1dcbf74232635bba1260d0524a62.jpeg -O basic.jpeg
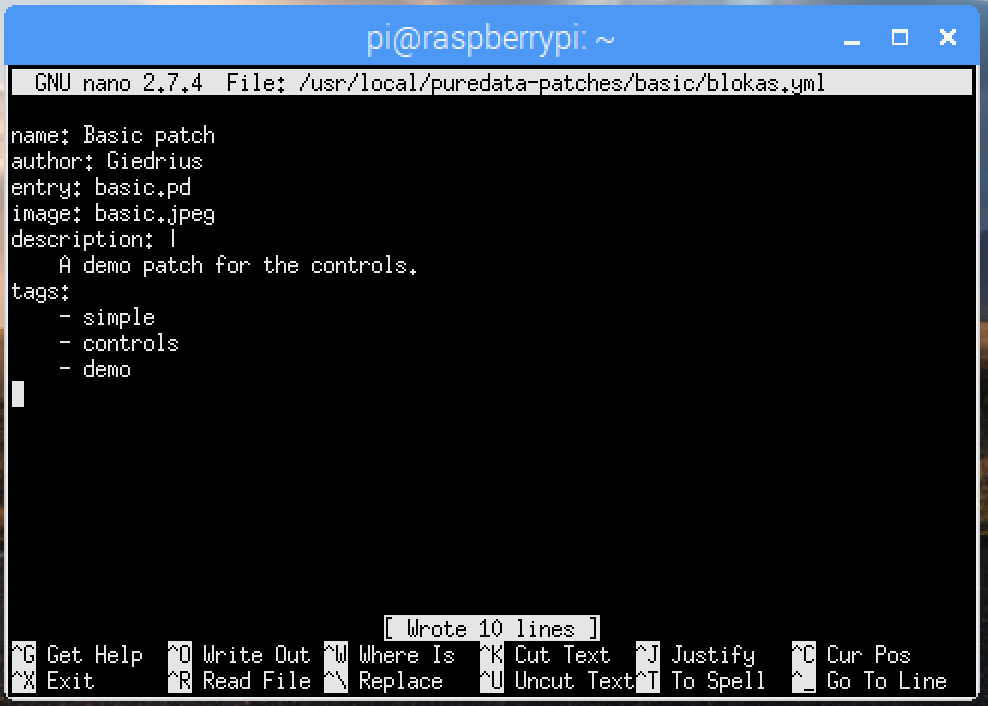
 sudo nano /usr/local/puredata-patches/basic/blokas.yml
This will create a placeholder basic.pd file, and open blokas.yml for editing, fill out the information and hit
ctrl+oto save andctrl+xto exit:name: Basic patch author: Giedrius entry: basic.pd image: basic.jpeg description: | A demo patch for the controls. tags: - simple - controls - demoThe file is following YAML syntax and should be self explanatory. The only 2 required fields are ‘name’ and ‘entry’, the rest of the information is used for nice display of the patch in the App.
Step 02: Launch the placeholder patch via the App
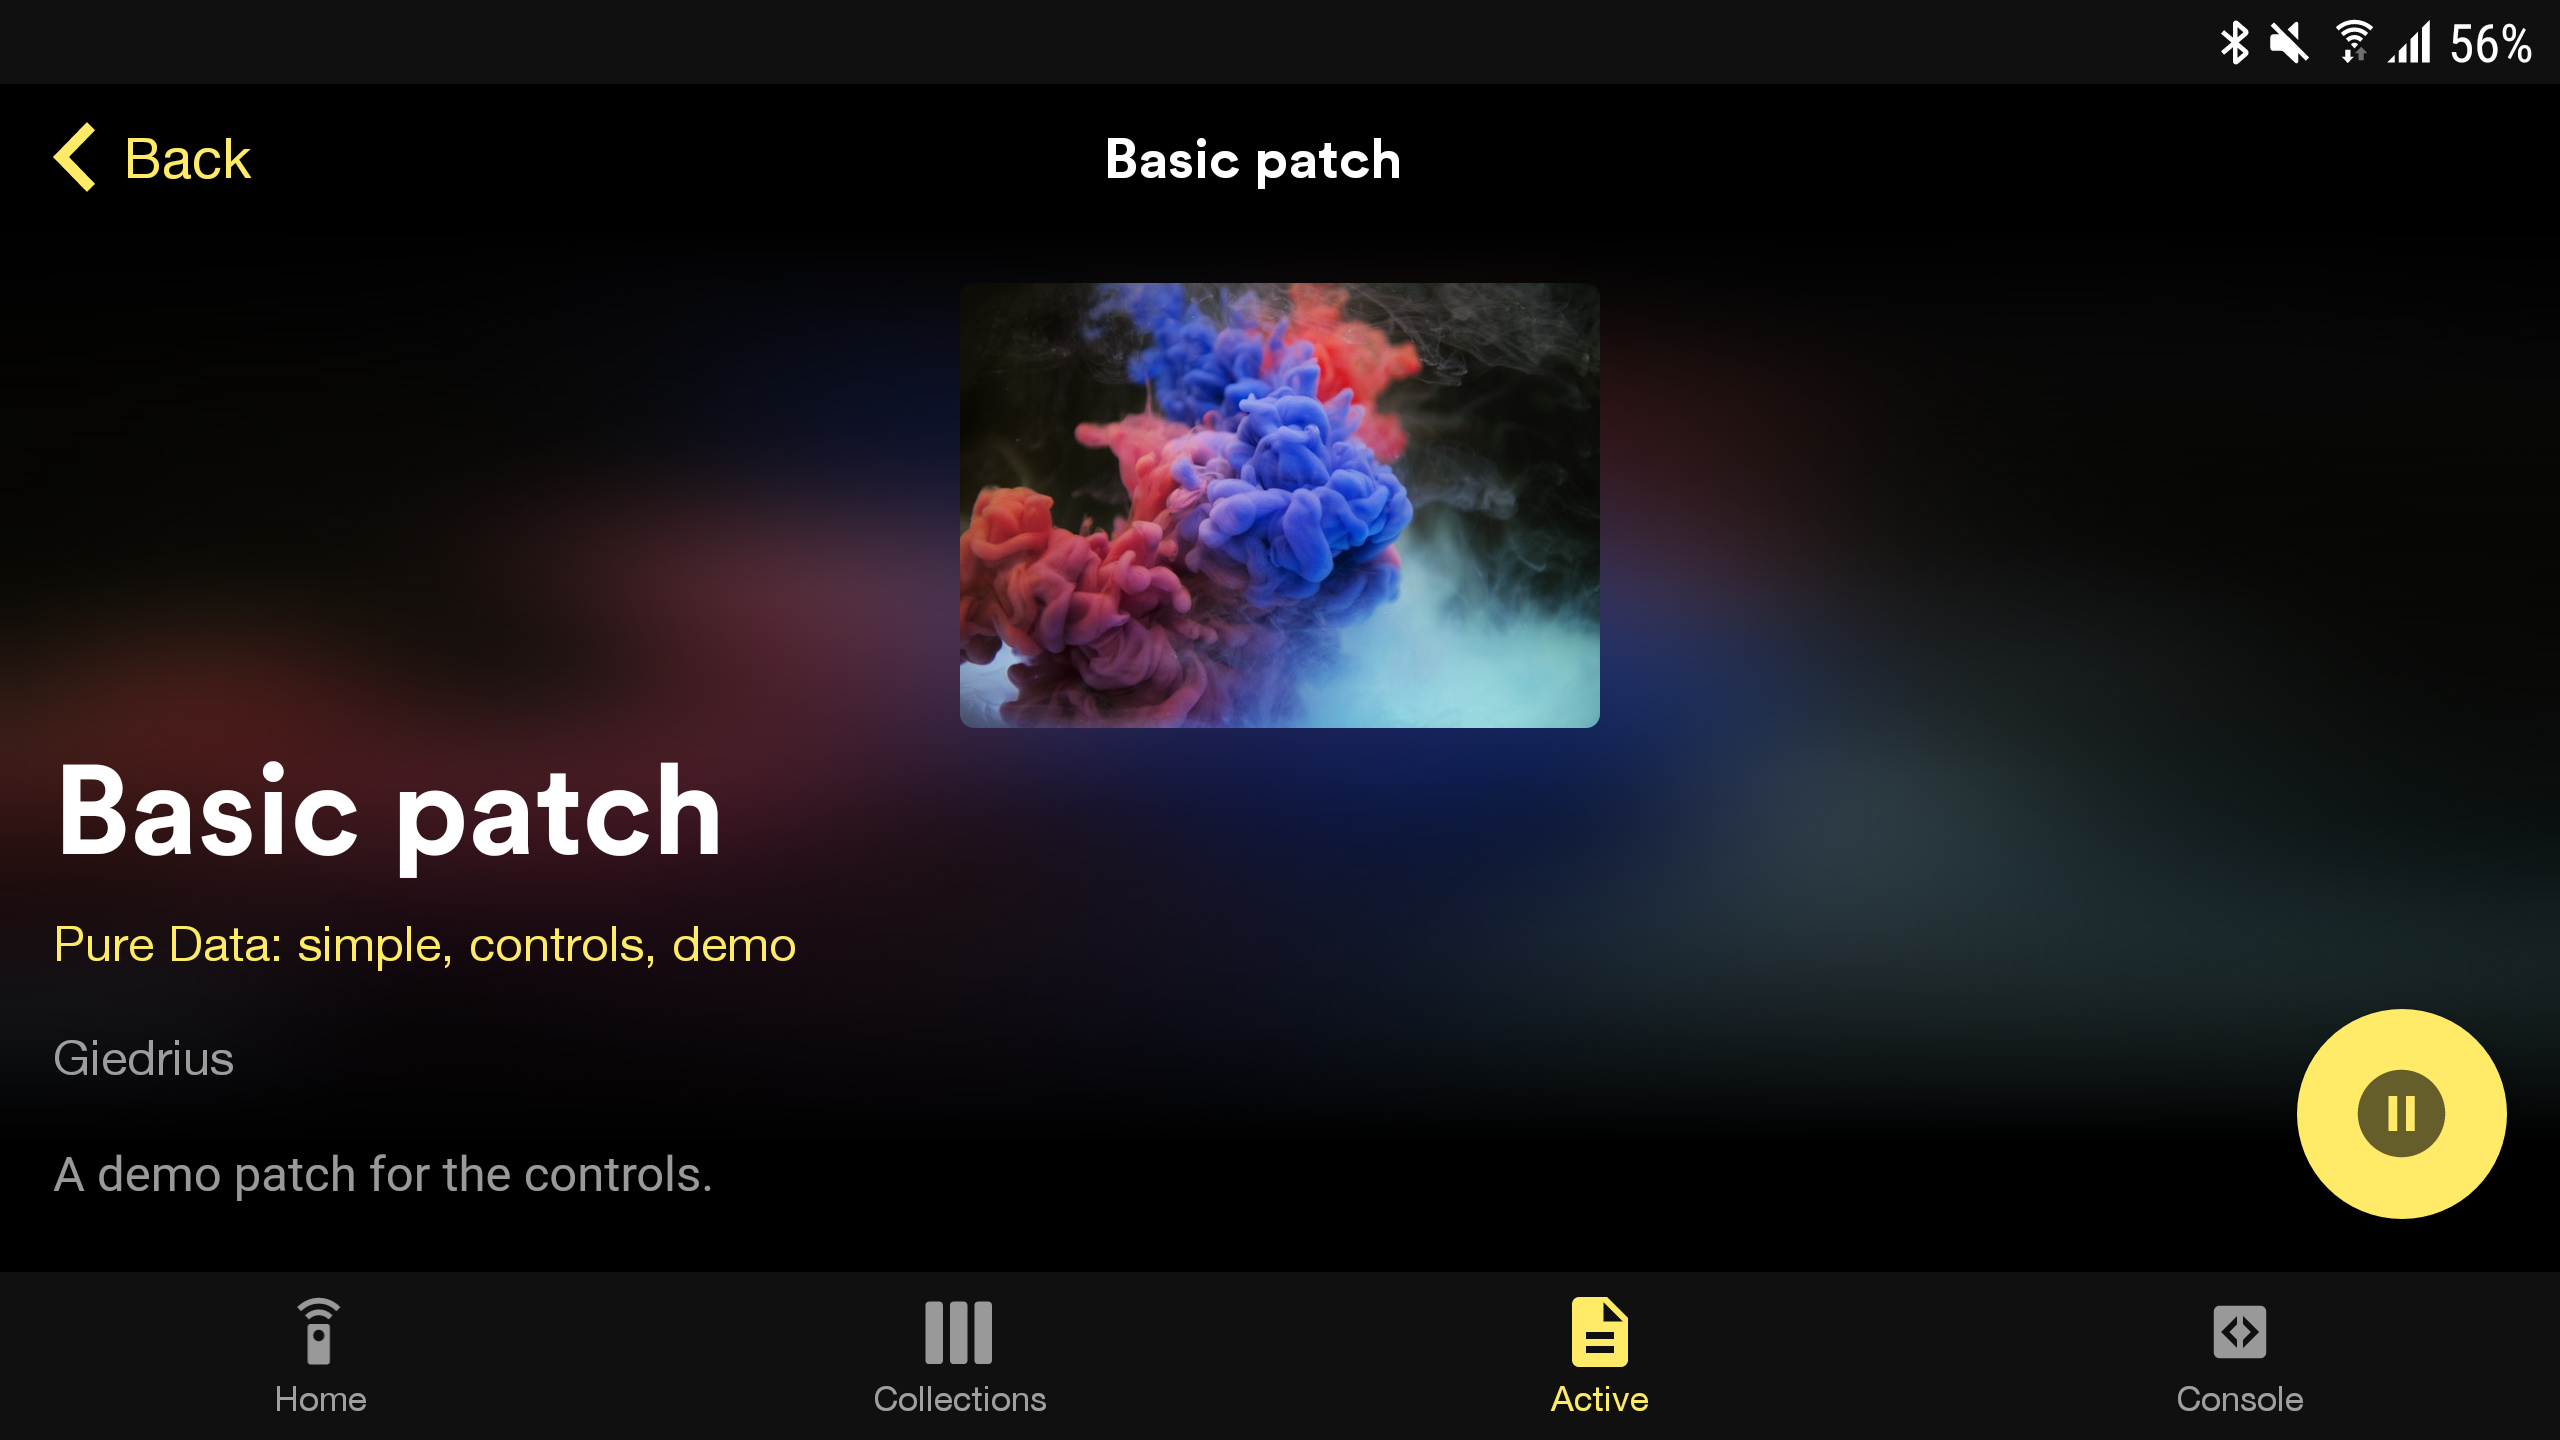
Make sure you are connected via VNC or are using monitor, keyboard or mouse with Pisound before launching the patch via the App, otherwise, Pure Data will get launched with ‘-nogui’ option, in that case, you can stop and start the patch again once the graphical environment is up.
Once launched, basic.pd should appear on the top left corner of the screen as an empty Pure Data patch.
Step 03: Get the Virtual MIDI keyboard in the App to appear
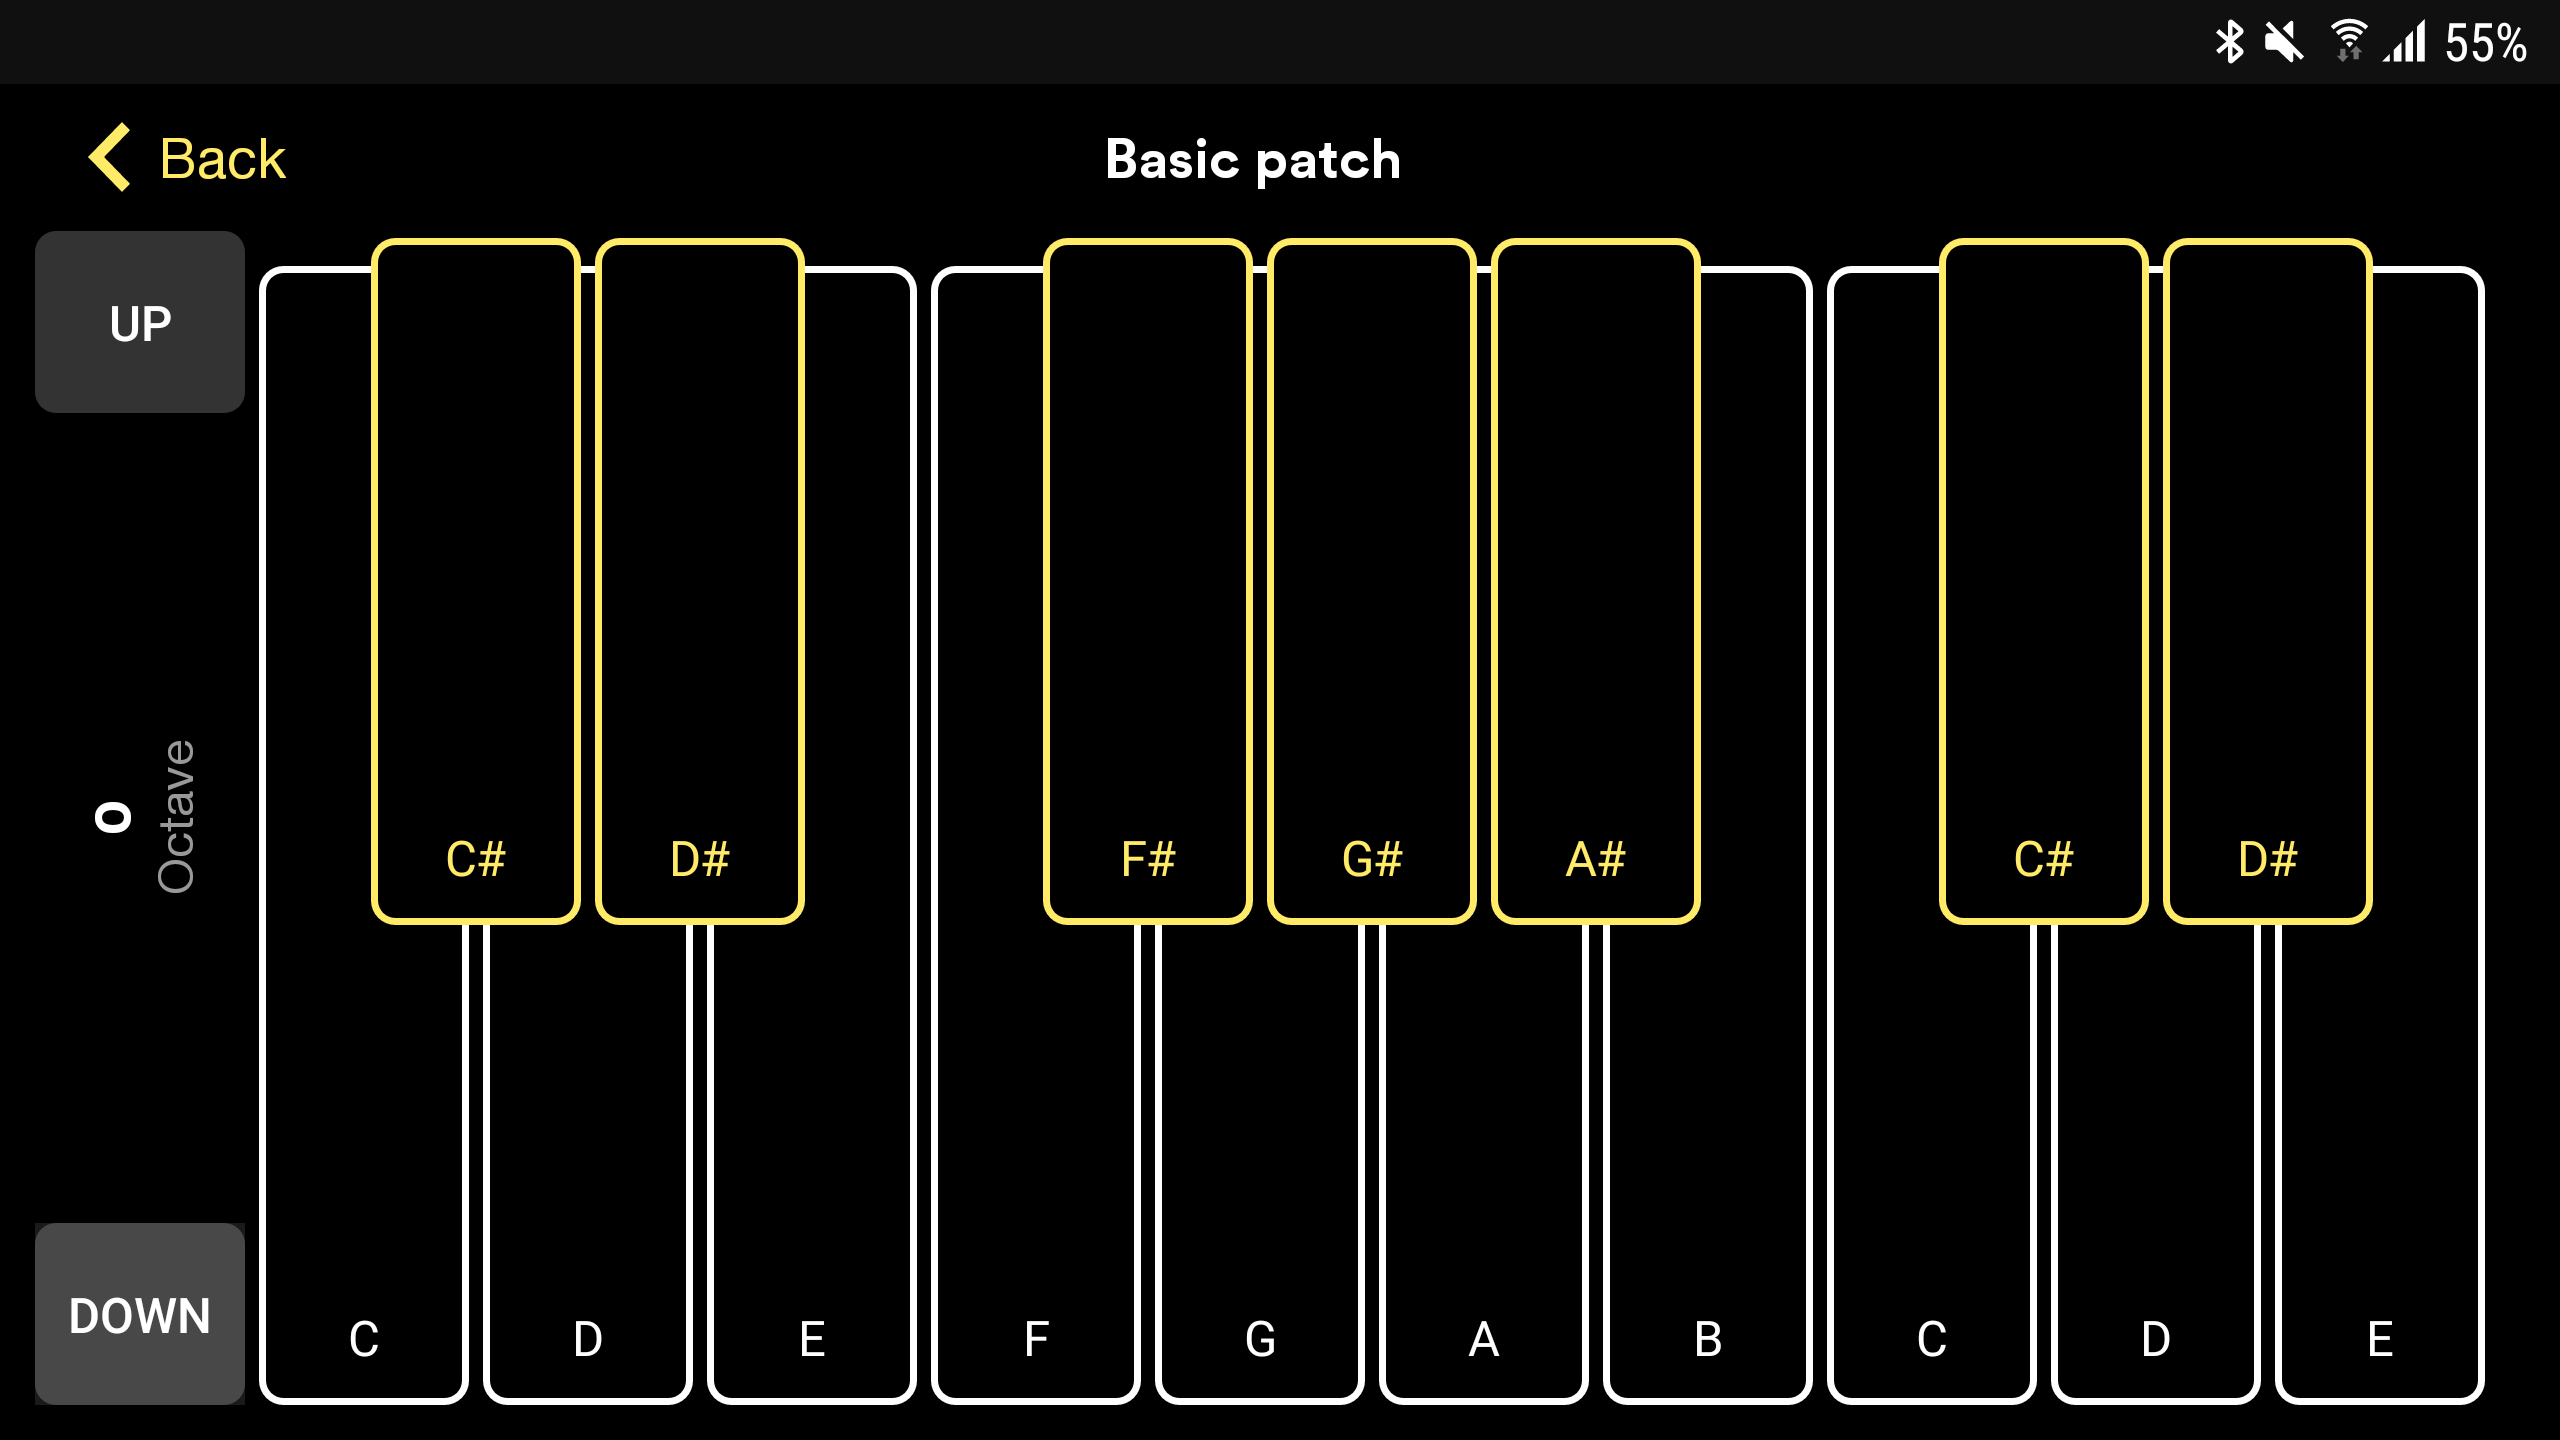
If on launching, the patch launched uses either [r notes] or [notein] Pure Data objects, the Virtual MIDI keyboard will be enabled in the App, so let’s create a [notein] object in the patch and relaunch it:
- In basic.pd, create
[notein]object. - Save now, stopping the patch via the App won’t show confirmation dialog.
- Stop and start the patch via the App, to get the Virtual MIDI keyboard to appear.

Step 04: Build a basic patch
Let’s first build a simple patch, and we’ll add in the controls that are visible in the App in the next step.
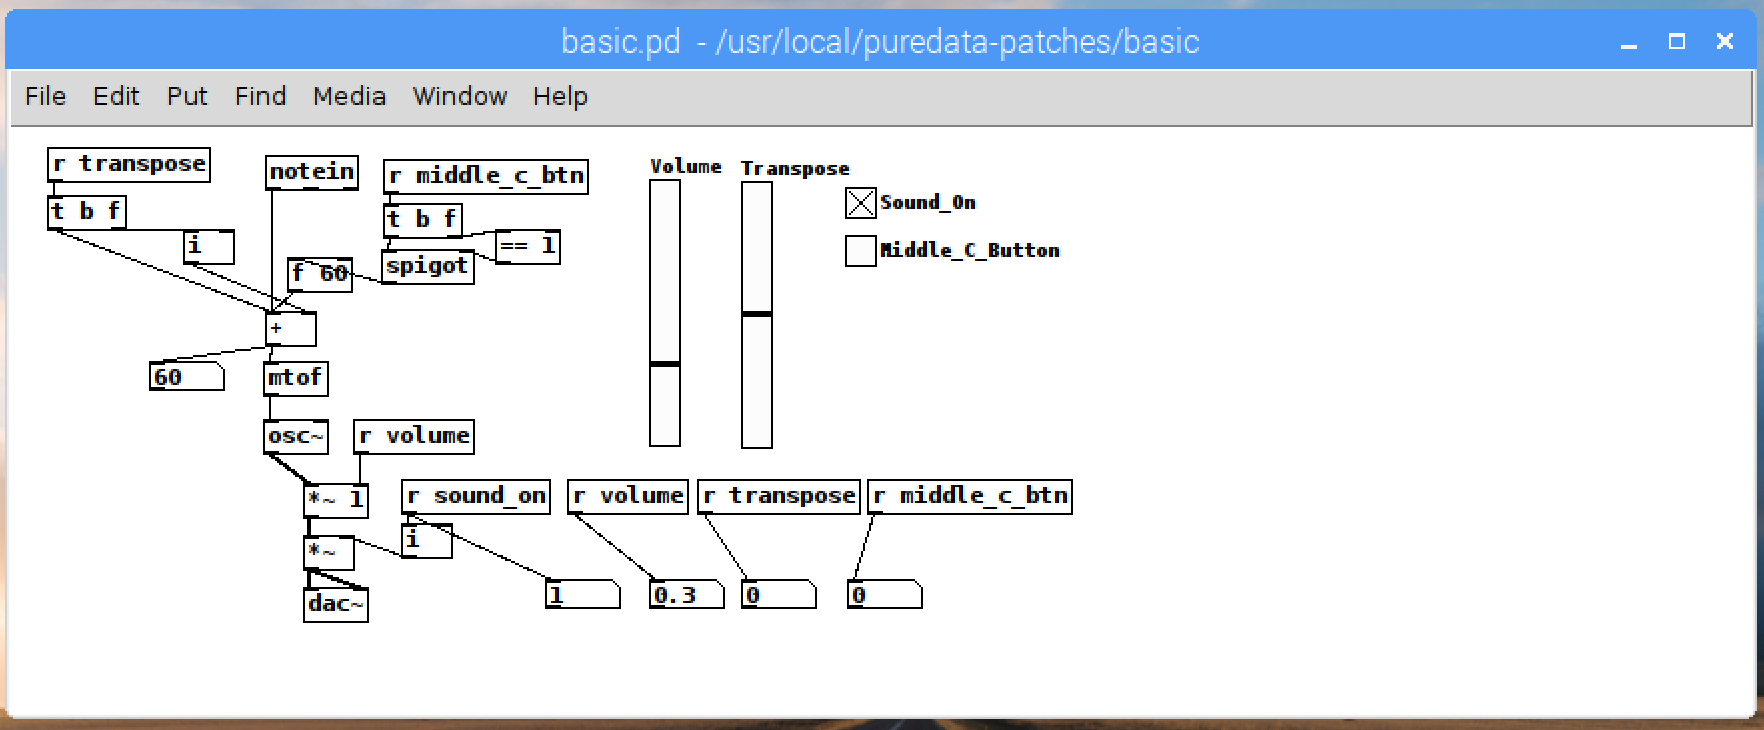
This patch uses 4 kinds of controls:
| Symbol | Type | Range | Description |
|---|---|---|---|
| sound_on | bool | 0, 1 | Sound on / off control |
| transpose | int | -12 - 12 | Transpose amount of MIDI Note value |
| volume | float | 0 - 1 | Volume control |
| middle_c_btn | bool / button | 0, 1 | Plays Middle C (MIDI Note 60) when triggered |
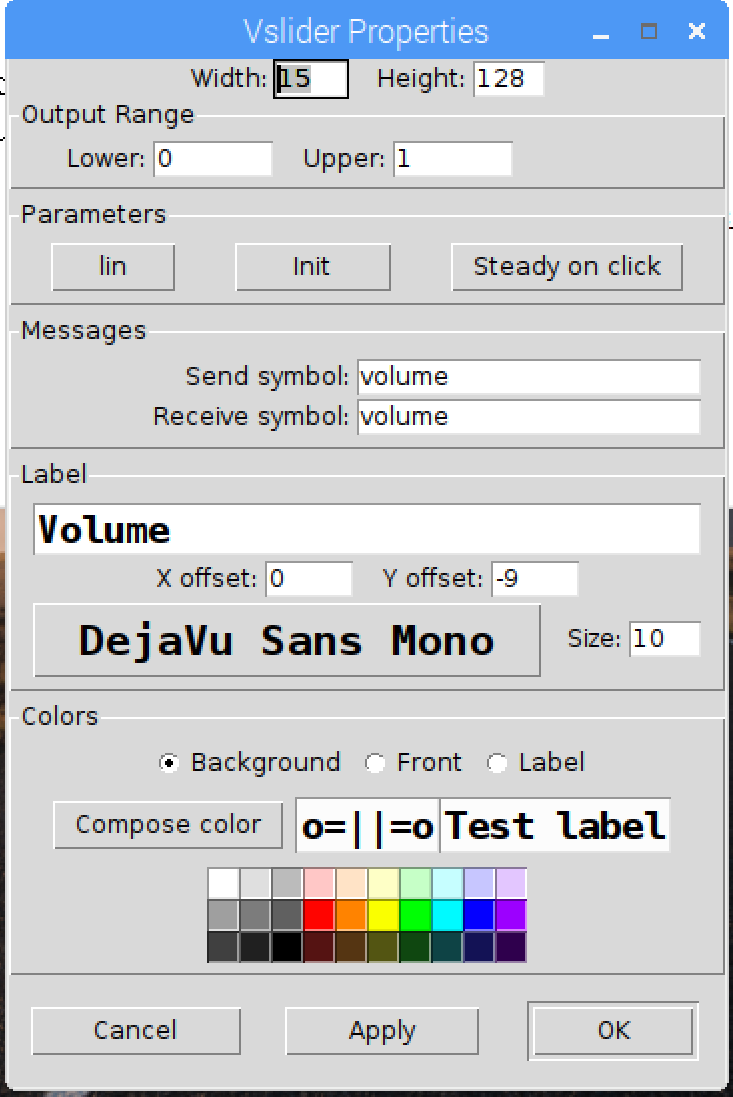
The graphical controls in the patch have send/receive symbols set to match the symbol names in the above table, for example the Properties window of Volume looks like this:
Step 05: Adding the controls to the App
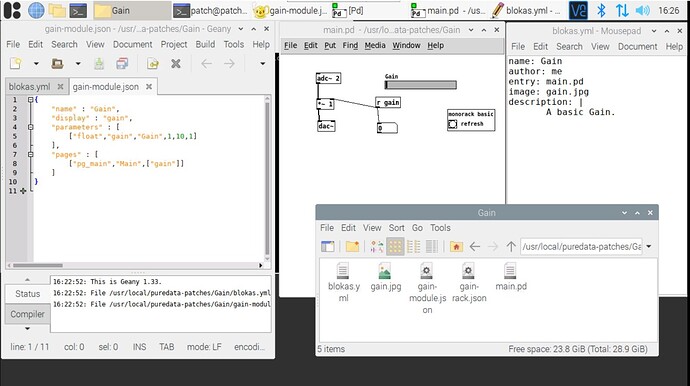
Real-time controls and MIDI mapping functionality are implemented using @thetechnobear MEC package. You may find more information on the -rack.json, -module.json, the [monorack] abstraction here.
-
First we have to pick the name that we’ll use to define the module, it will be needed to name the param definition files and creating the [monorack] object. In our case, we can pick ‘basic’.
-
Now let’s create the param definition files:
sudo touch /usr/local/puredata-patches/basic/basic-rack.json
sudo nano /usr/local/puredata-patches/basic/basic-module.json
Fill in the parameter data:
{
    "name" : "basic",
    "display" : "Basic",
    "parameters" : [
        ["bool","sound_on","On",1],
        ["int","transpose","Transpose",-12,12,0],
        ["float","volume","Volume",0,1,0.3],
        ["bool","middle_c_btn","Middle C",0]
    ],
    "pages" : [
        ["pg_main","Main",["sound_on","volume","transpose","middle_c_btn"]],
        ["pg_main_inv","Main Inv",["middle_c_btn","transpose","volume","sound_on"]]
    ]
}
This defines the 4 parameters as described above, and puts them in 2 pages, just to demonstrate how to have more than one page of parameters. Keep an eye on the ‘,’ at the end of the lines, JSON syntax is very strict on their placement.
-
Now let’s get the controls plugin loaded into the patch, to do that, we have to first declare that we’ll be using PD externals from ‘blokas’ subfolder in PD standard externals folder (’/usr/lib/pd/extra’) and afterwards create the [monorack basic] object to load in the parameter definitions:
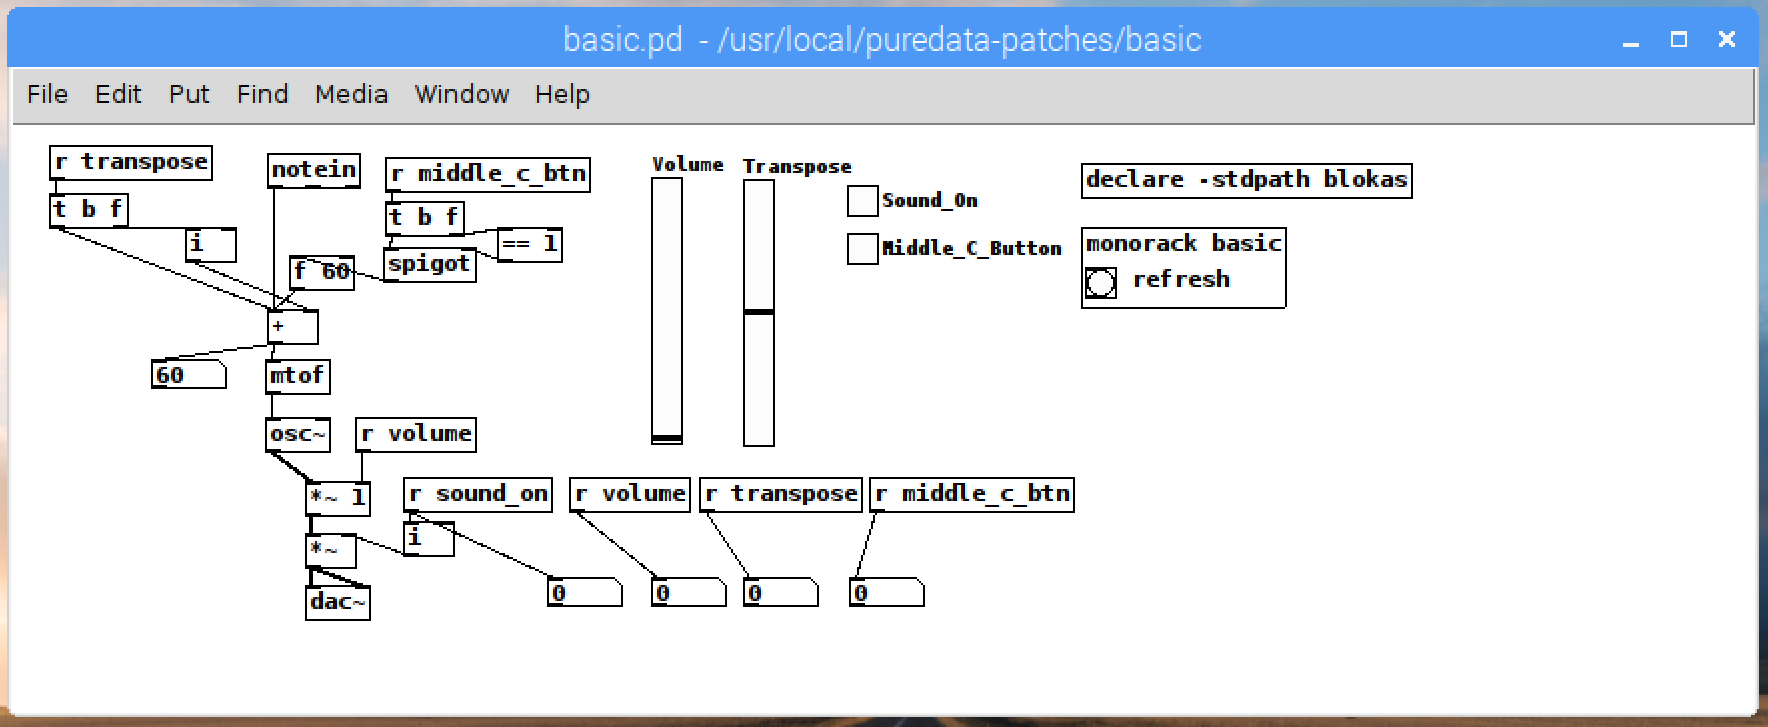
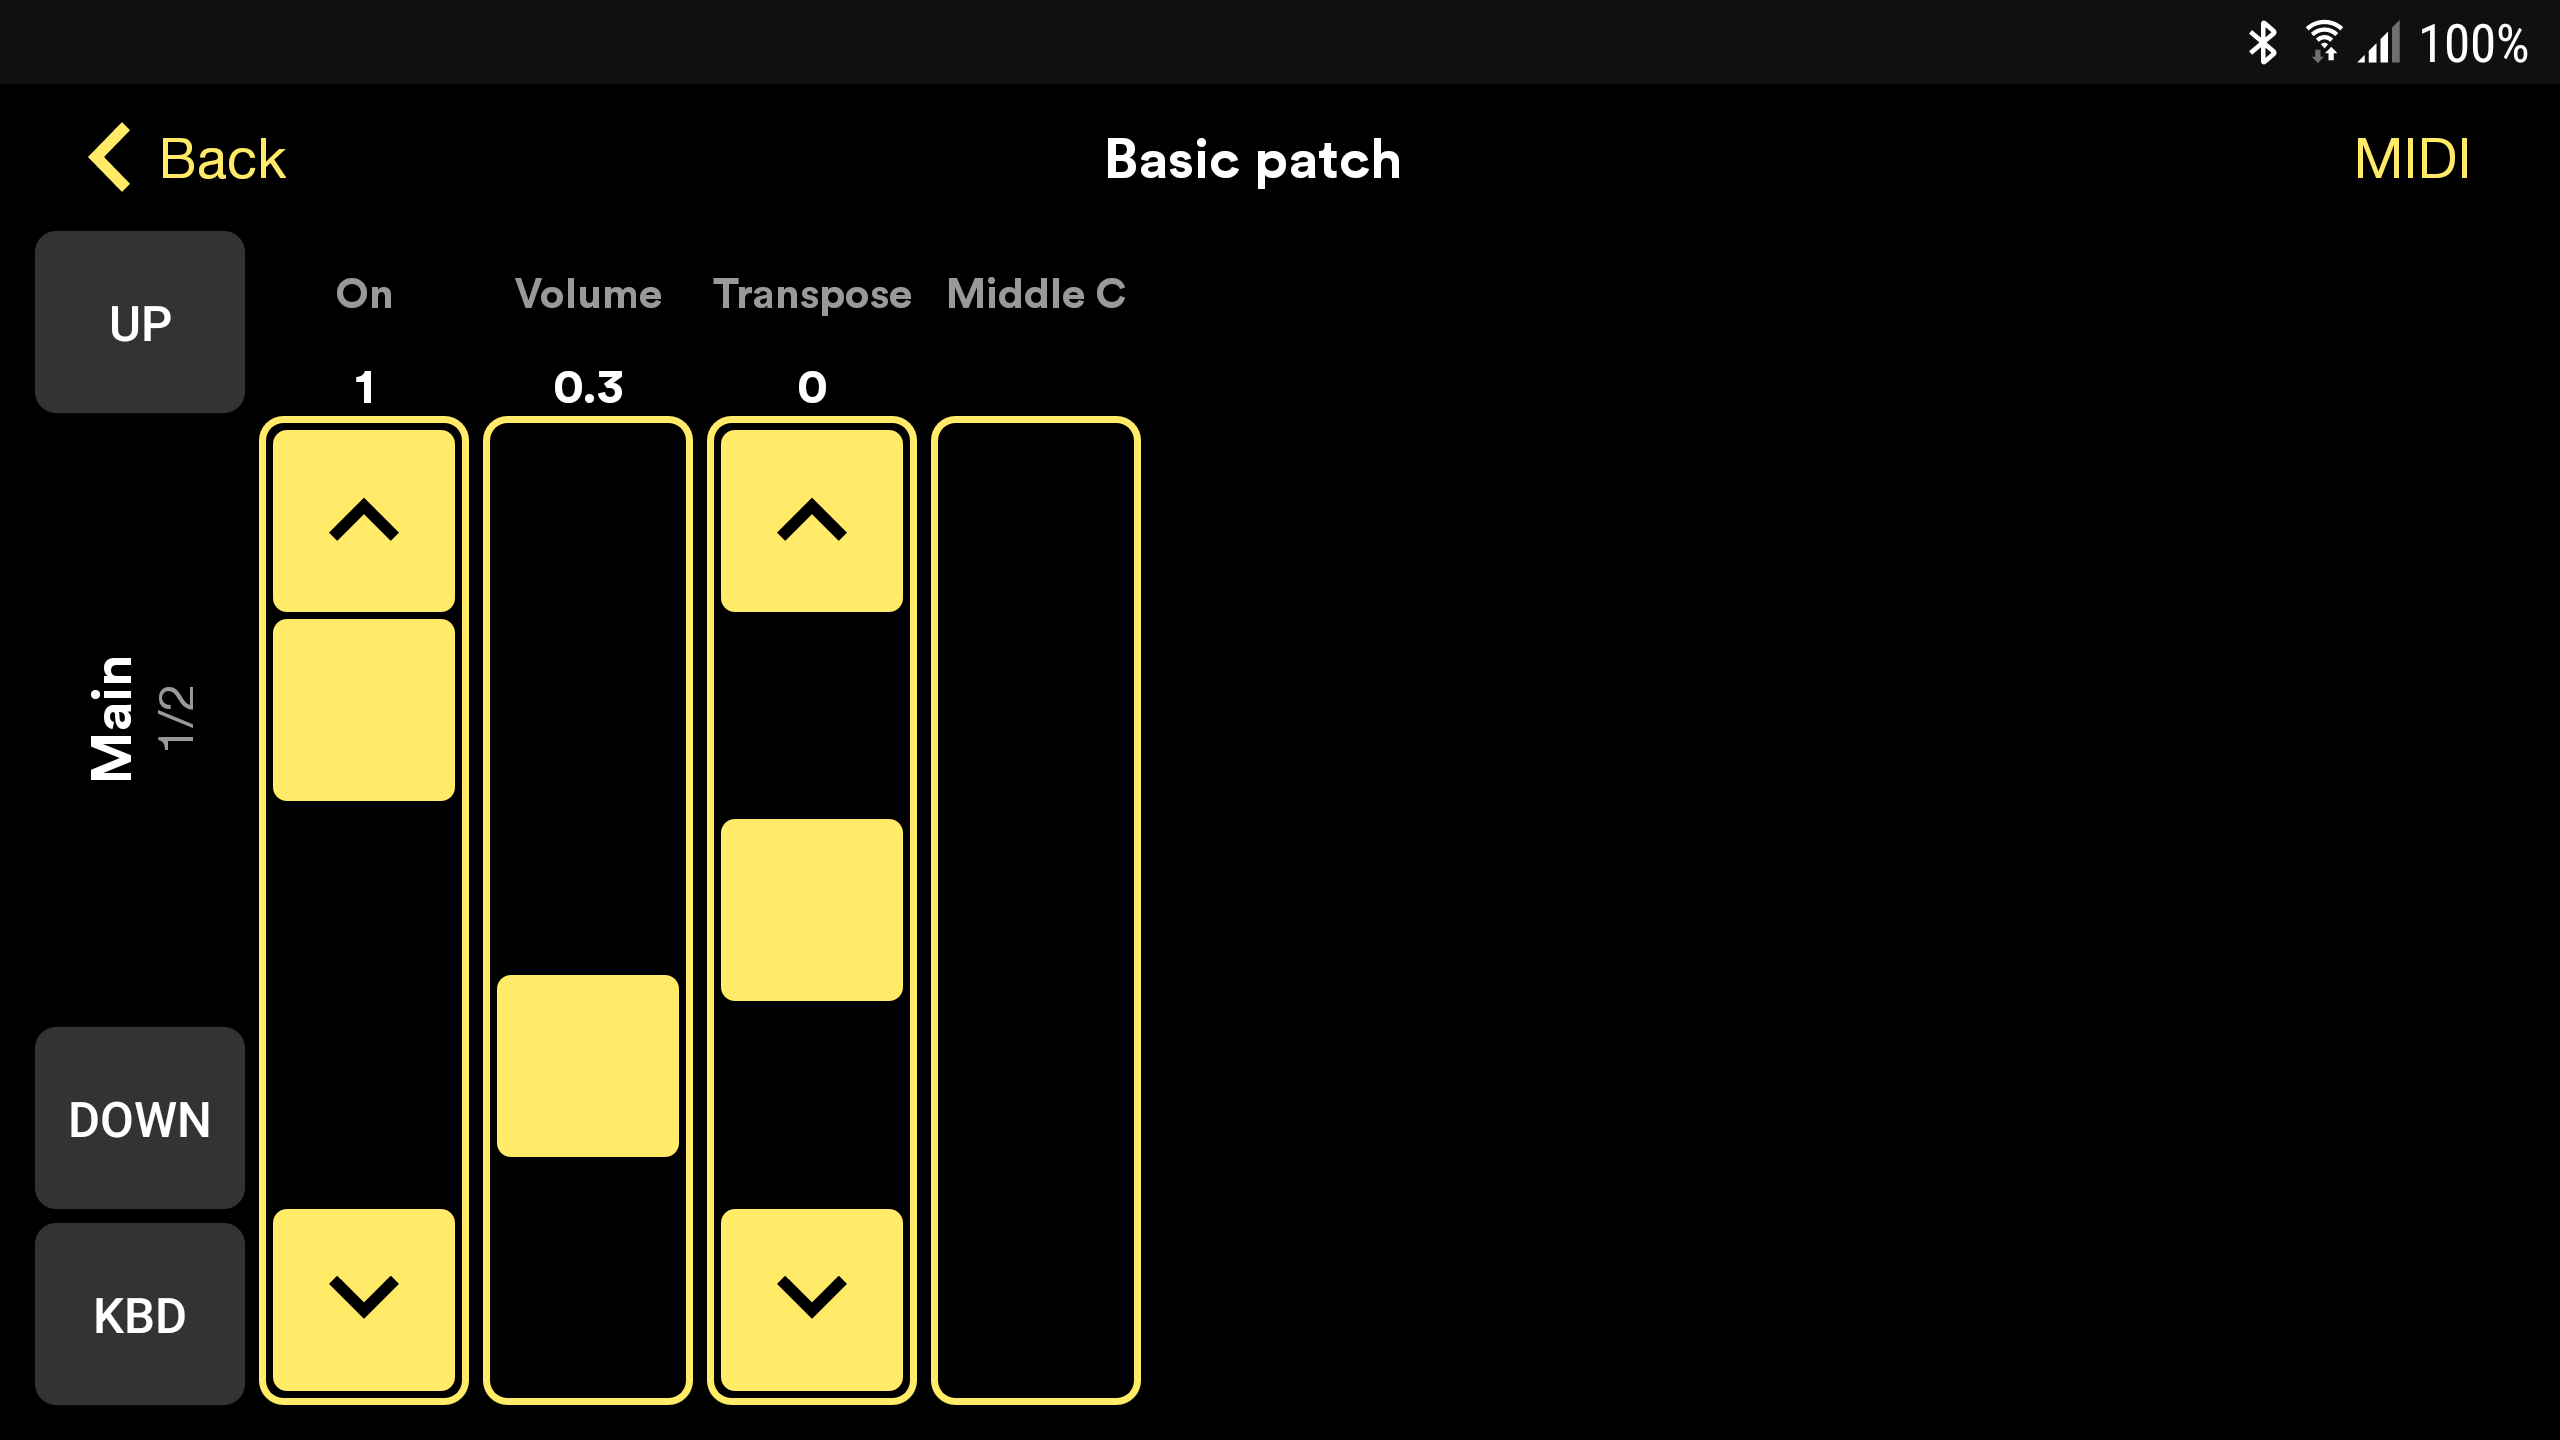
At this stage, restarting the patch will display the controls in the App, and they will be already usable, because we used [r param_name] and param_name for send/receive symbols in the GUI controls. Hitting the refresh in [monorack] object causes reload of the param definitions file, if it was changed, and there is no syntax errors, the controls should get updated in the Pisound App immediately.
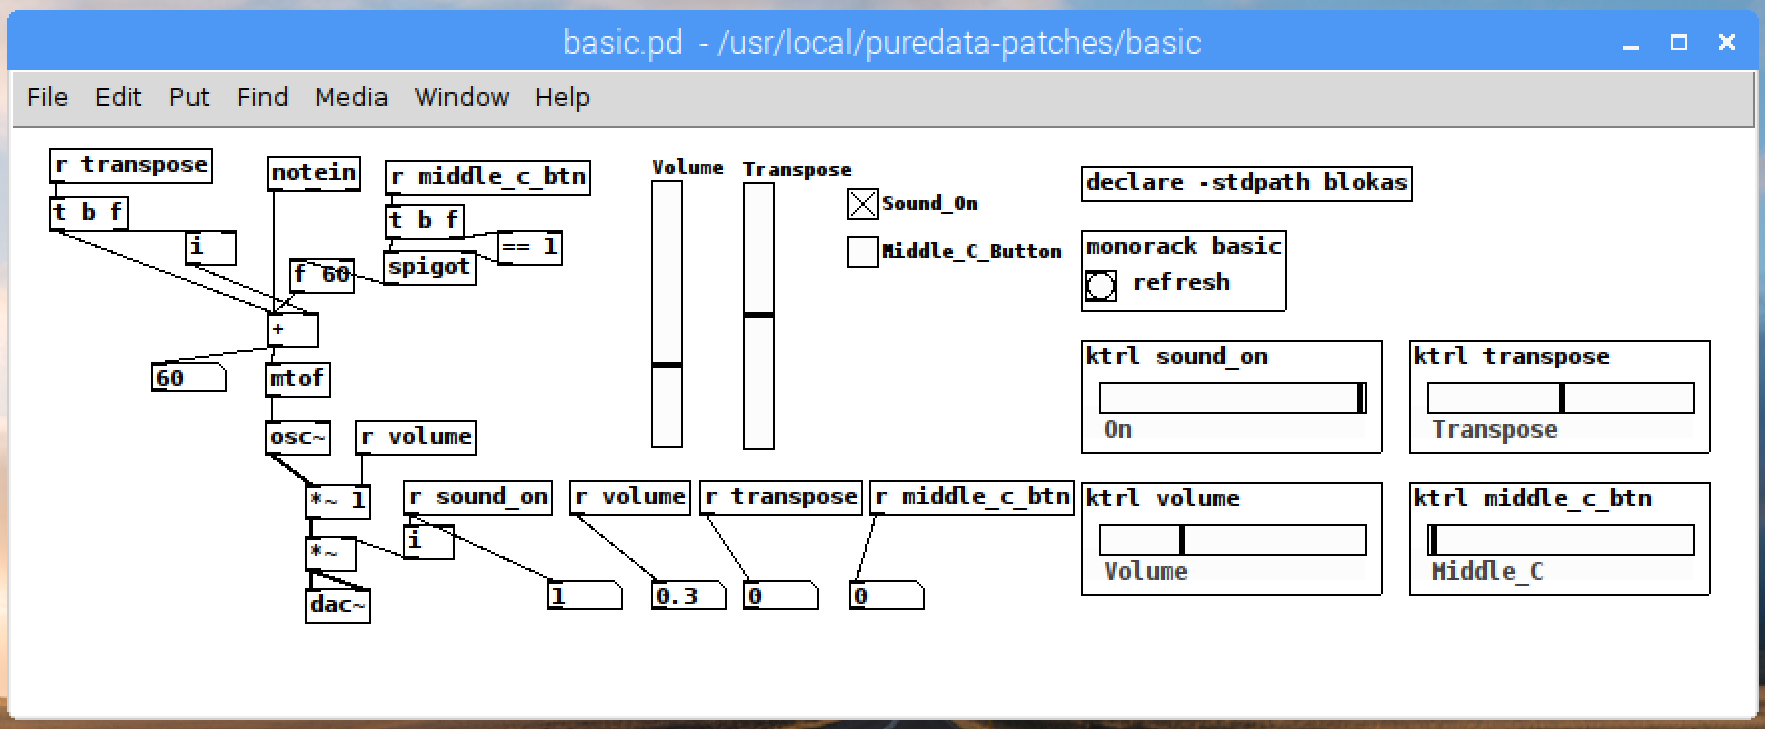
For easier debugging / testing of the patch, we may add [ktrl param_name] objects, in case param_name is a valid parameter, it will automatically set the lower and upper range of the horizontal slider according to what is set in -module.json, as well as shows the display name. In case the param_name was not found, it will show <unknown> instead of the param display name, hinting at a typo or syntax error in -module.json.
Step 06: Rules of thumb for great control integration into a patch
Here’s a few good guidelines to keep in mind when adding controls to patches:
- The controls should be integrated in such a way that the App or simply [ktrl] objects should be enough to start playing around with the patch.
- If the patch can be fully controlled using [ktrl] objects, that generally means it will work great with the App too, as long as the pages are defined correctly.
- If a patch already has GUI controls (like MiniMoog or ArpOdyssey did), working with either the pre-existing GUI controls or [ktrl] objects or the controls in the App should cause the changes to appear in all places, regardless of which input method was used.
This is it!
Once you get the hang of the param definitions file and the [monorack] object, getting controls integrated into new or existing patches will become a pretty straightforward thing to do. To get a better hang of it, you may practice adding controls by retrofitting some of the existing patches with control objects.


