Goal: Turn your Raspberry Pi & Pisound into a network-enabled audio player w/ Volumio.
Difficulty: Easy
Optimized for Headless Use: Yes
Recommended Raspberry Pi Models:
- Raspberry PI 3B+
- Raspberry PI 3B
- Raspberry PI 2B+
- Raspberry PI 1B+
Required Hardware:
- Raspberry Pi w/ power supply and micro SD card
- Computer, tablet or smartphone w/ browser support
- Pisound
Required Software:
- Volumio - https://volumio.org/get-started/
Step 01: Burn Volumio image
- Download the latest Volumio image for Raspberry Pi from https://volumio.org/get-started/
- Burn the Volumio image following these instructions - https://community.blokas.io/t/general-write-sd-card-images-using-etcher/594
Step 02: Initial Volumio setup
- Mount Pisound directly onto your Raspberry Pi
- Insert the newly baked Volumio SD card that you prepared in the first step
- Plug the Ethernet cable (Ethernet cable is required for the initial setup, later on you can use Wi-Fi)
- Connect any additional device you may want to use (HDD, USB HUB, Wi-Fi Dongle, etc.)
- Power on your Raspberry Pi and wait for it to boot
- Connect your computer, tablet or smartphone to the same Network as your Raspberry Pi
- Visit
volumio.local/on your device’s browser (If you can’t connect to Volumio dashboard, check your internet connection and try typing your Raspberry Pi IP address instead)
Step 03: Configure Volumio for Pisound
Pisound’s module is integrated into Volumio, so installing the latest version should be enough to get ‘Pisound’ listed in Playback Options.
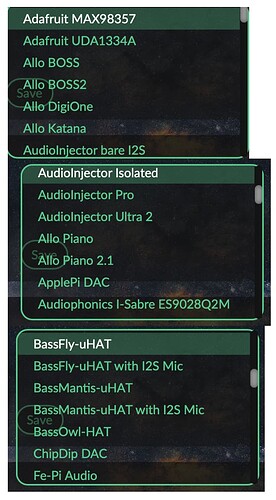
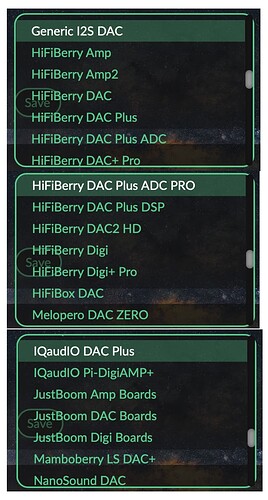
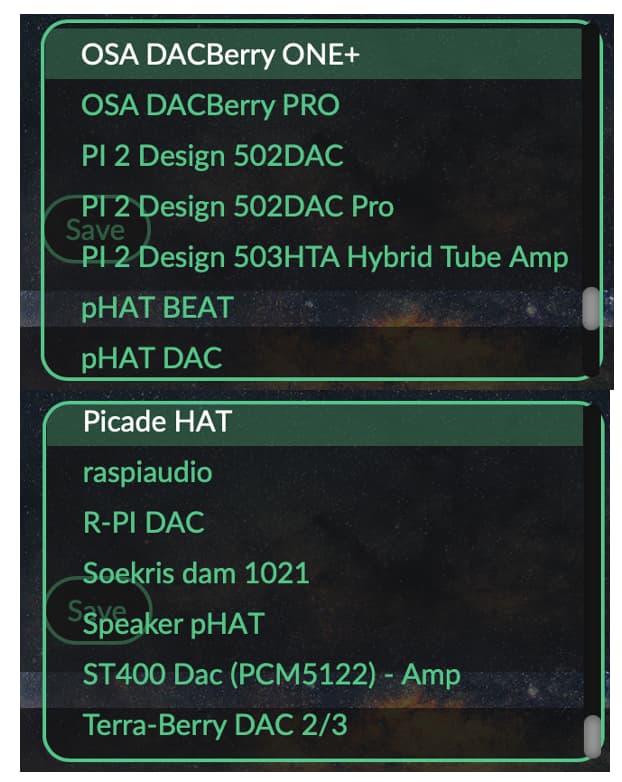
- On the Volumio dashboard enable I2S DACs, pick Pisound from the list and save the configuration
- Choose your preferred mixer option. We recommend switching the mixer to ‘Software’ if you want to control the volume within Volumio. You can use ‘Hardware’ mixer if using the physical volume control on Pisound.


