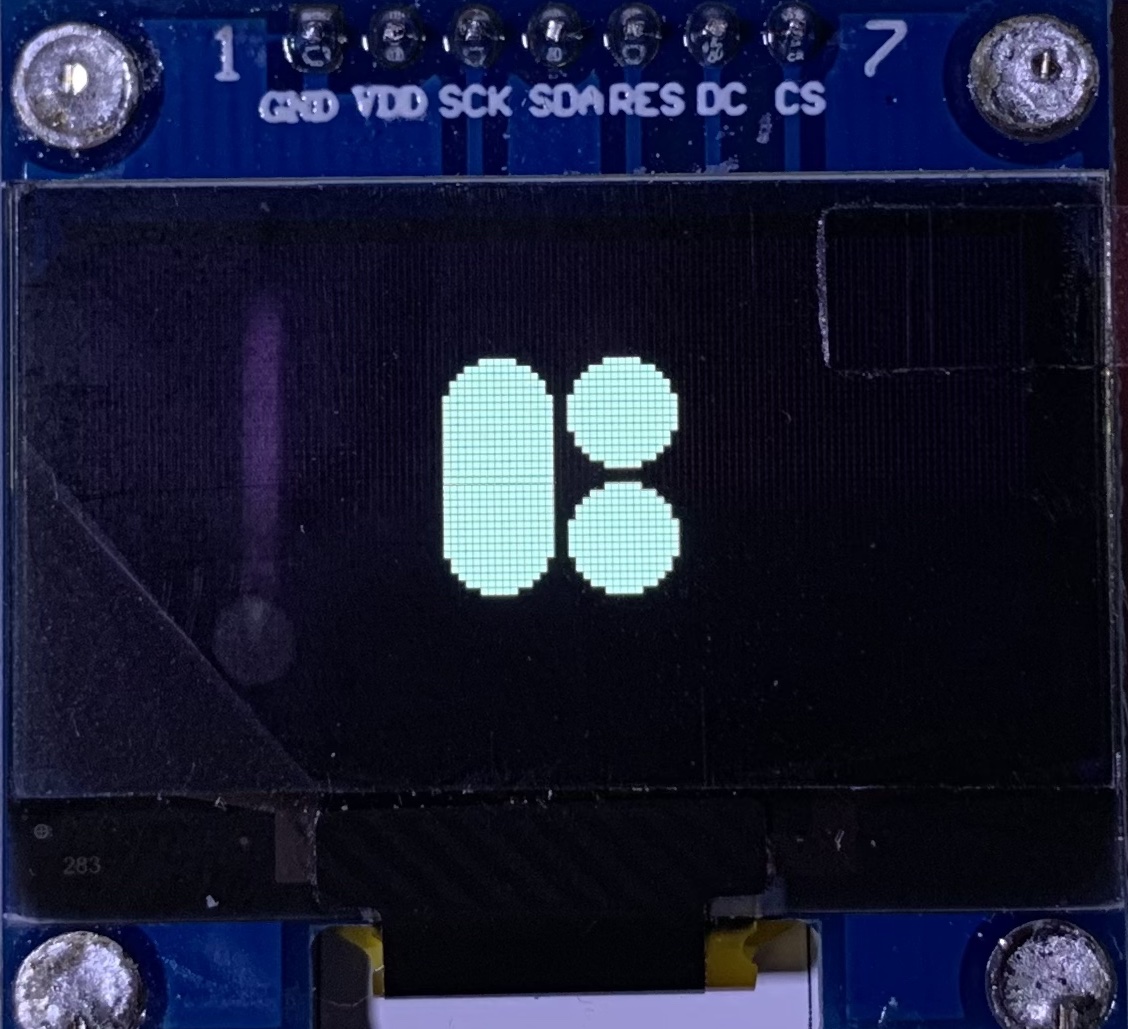
You should see the Blokas logo after doing Burn Bootloader. Uploading sketches via the bootloader & USB should keep it there.
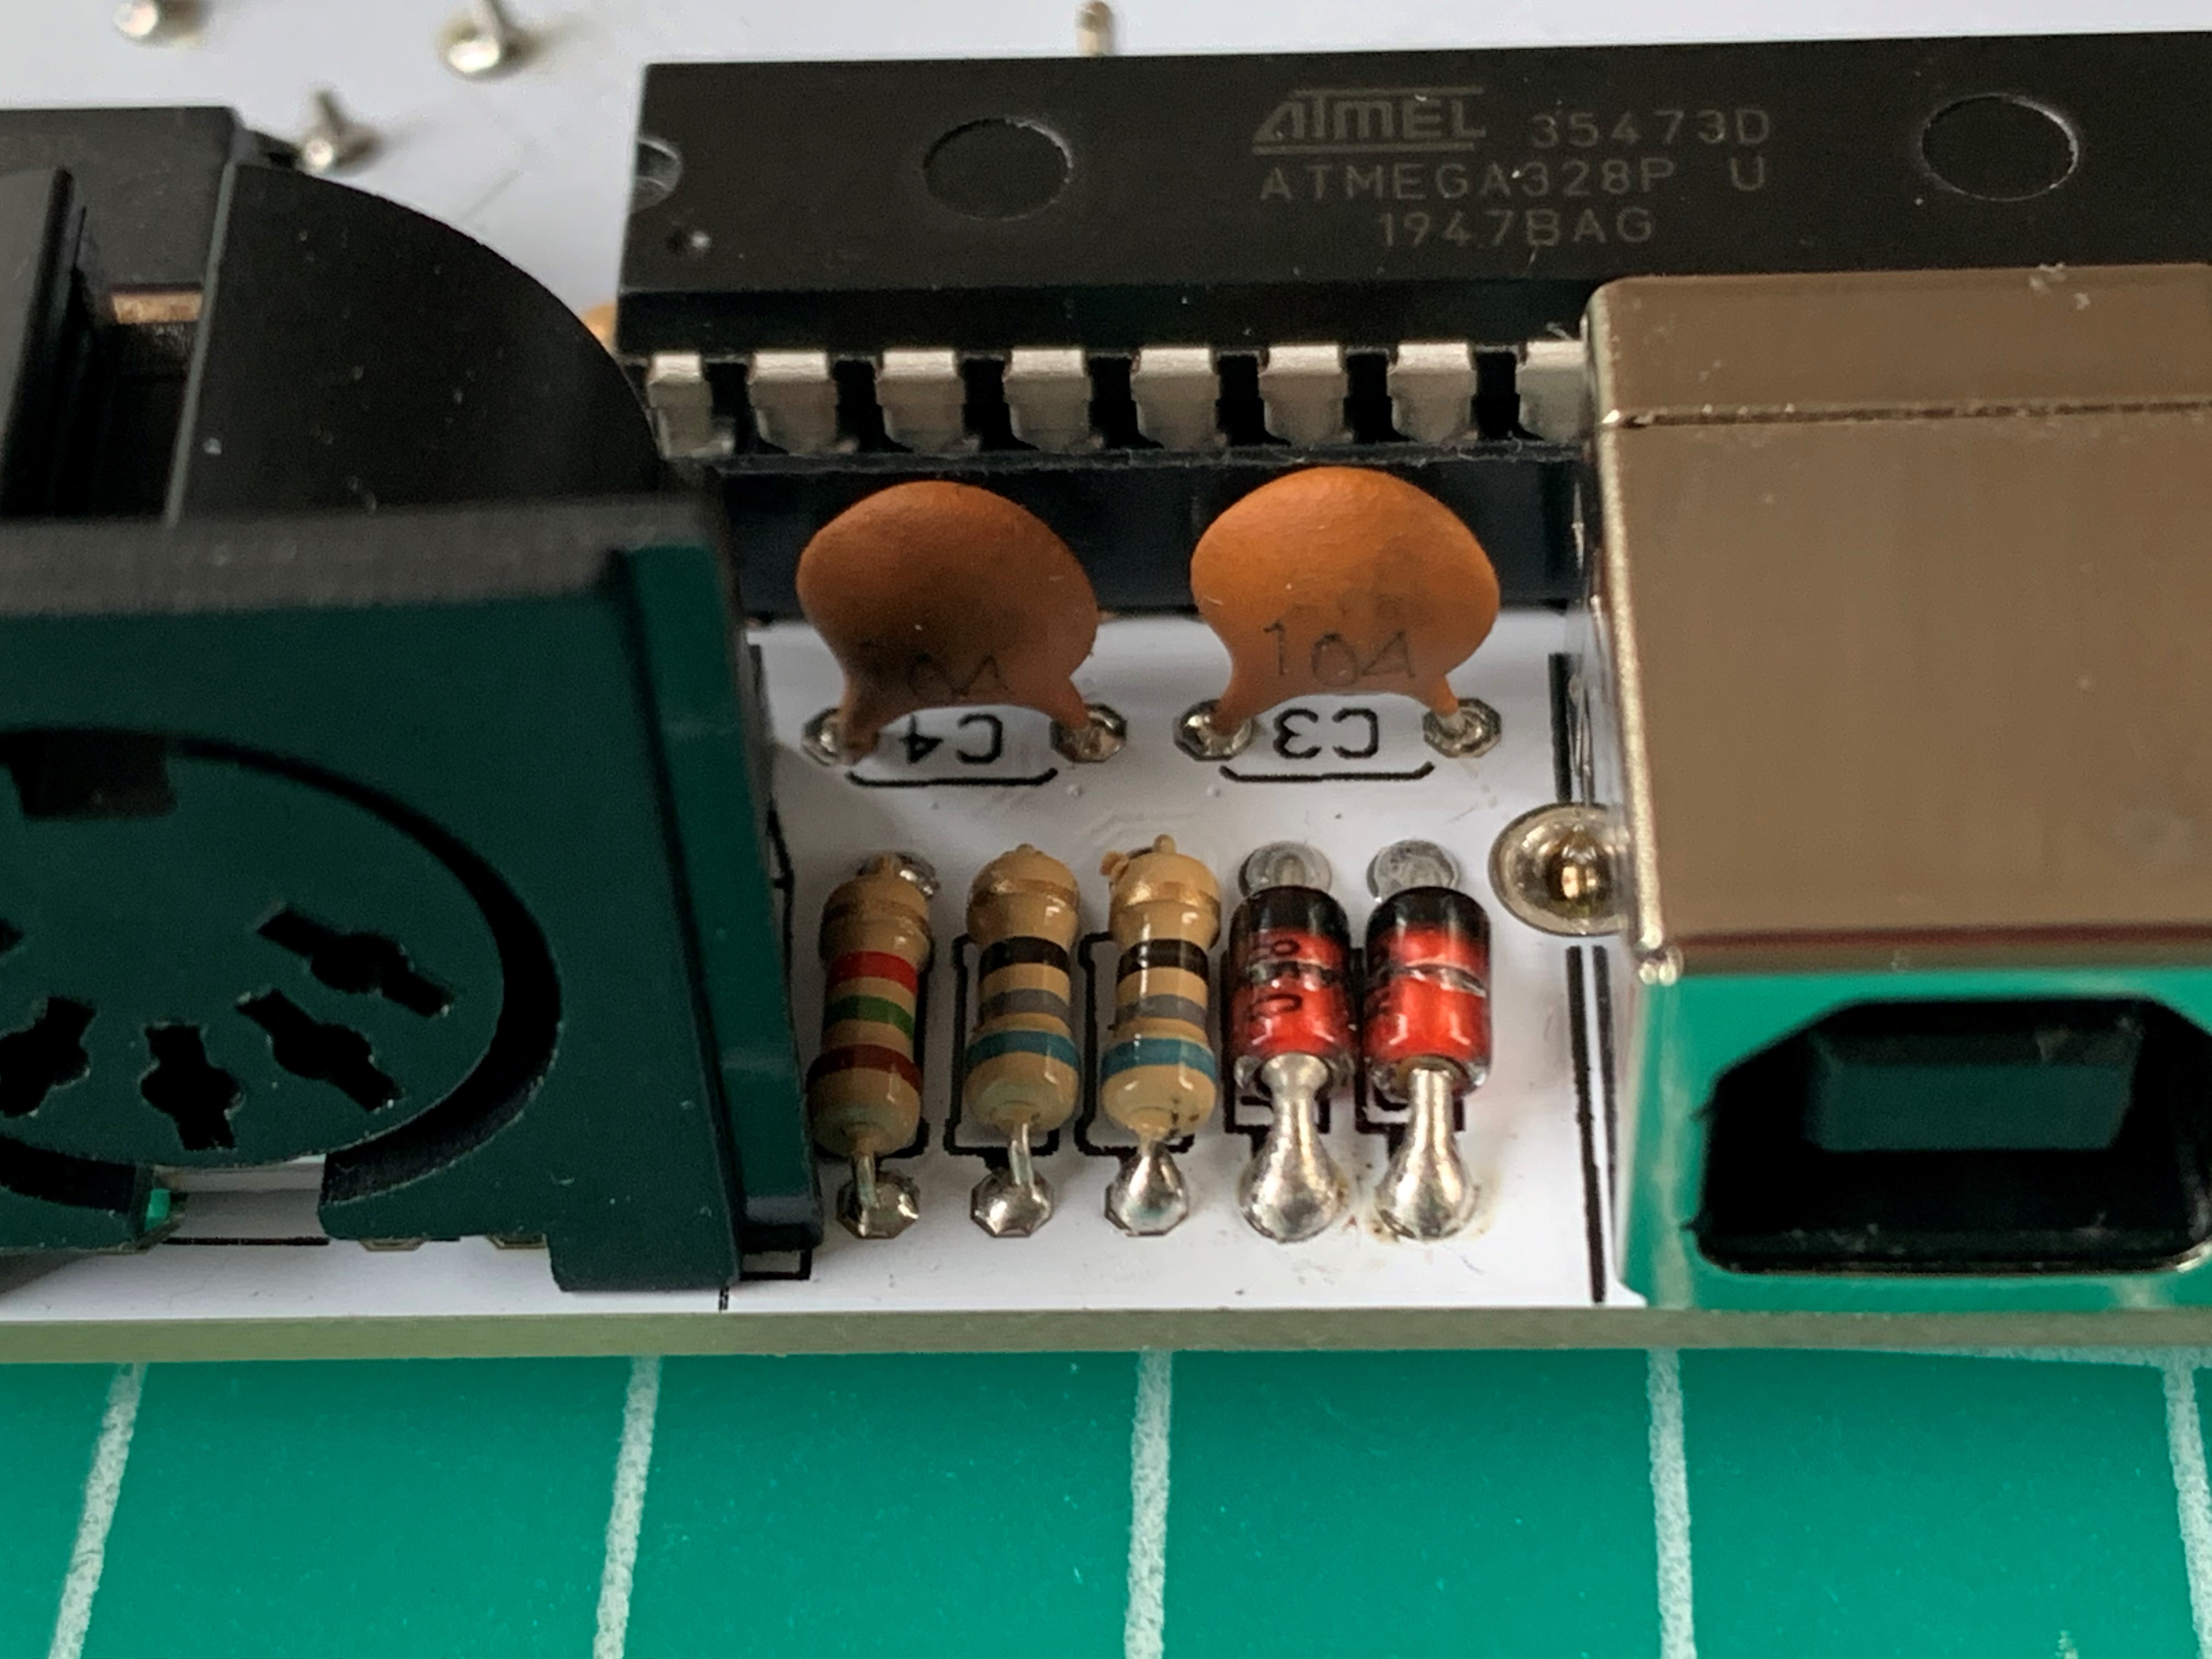
This does show though that the issue lies somewhere else than the chip itself. I have double checked your photo of components again and I still can’t spot anything wrong there. Of course inspecting photos is not the same as the real board itself.
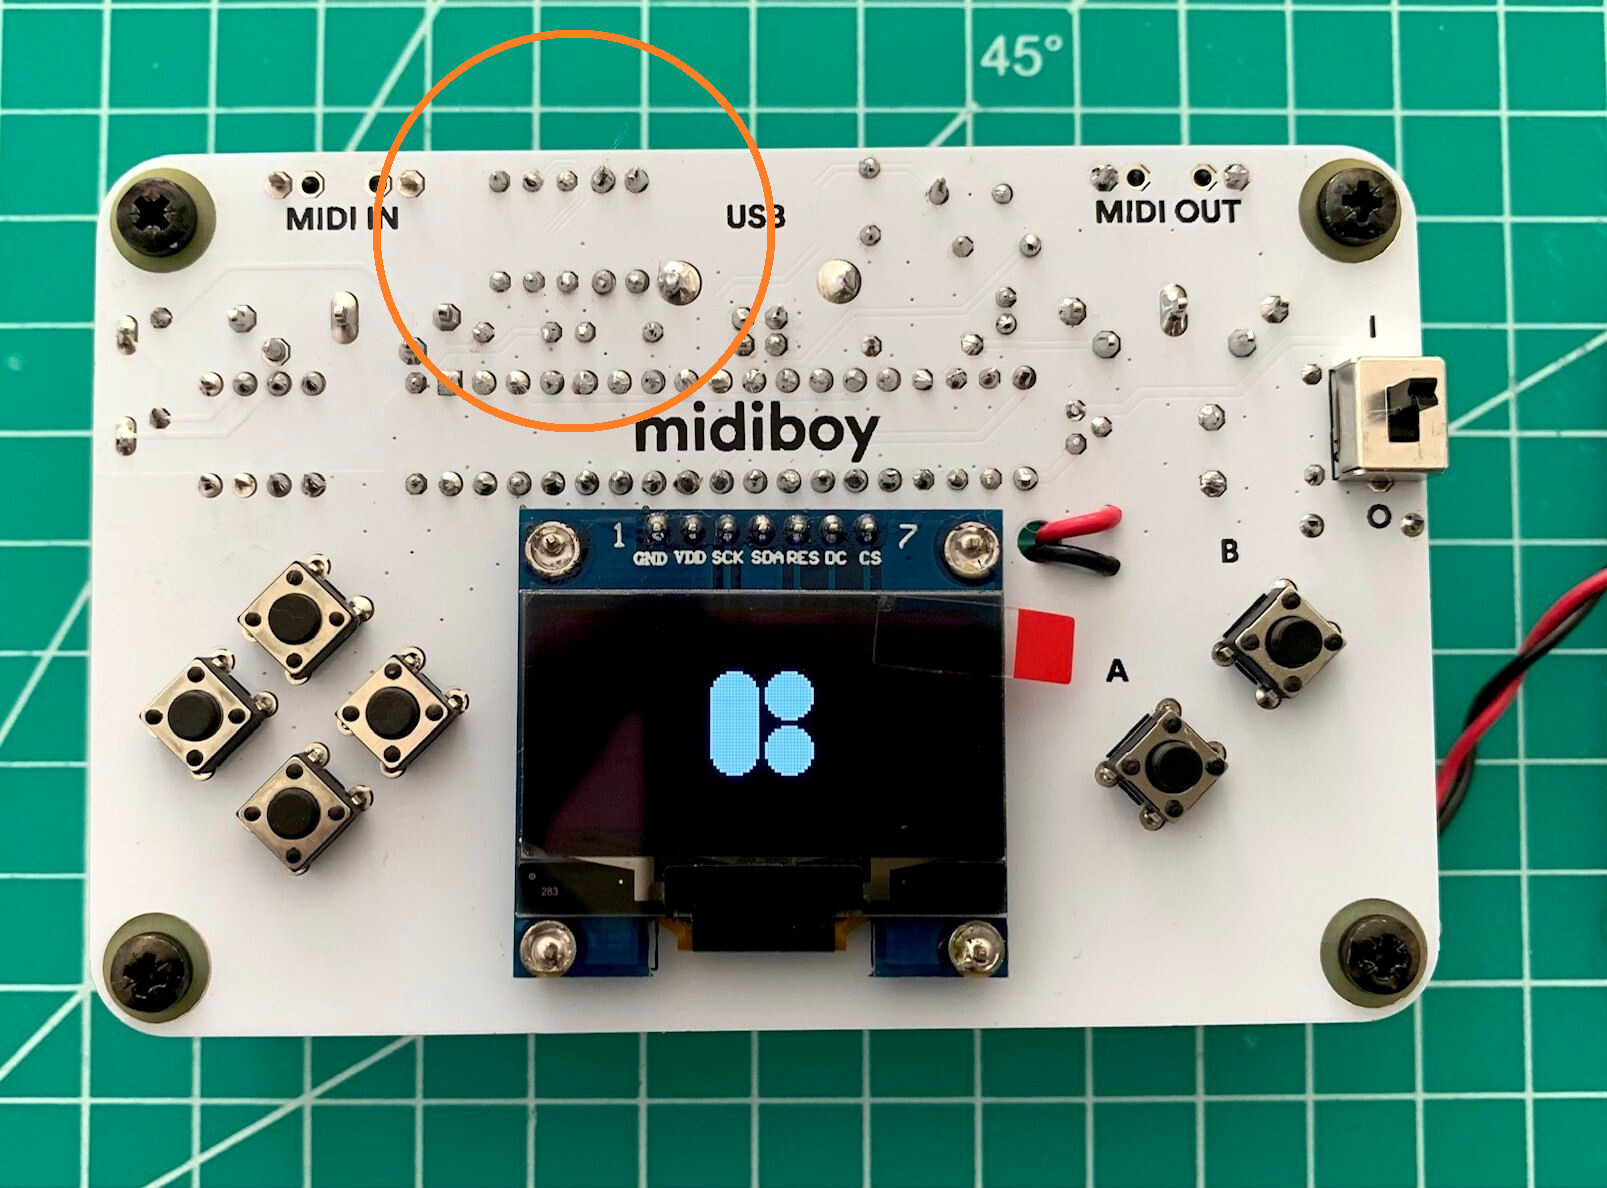
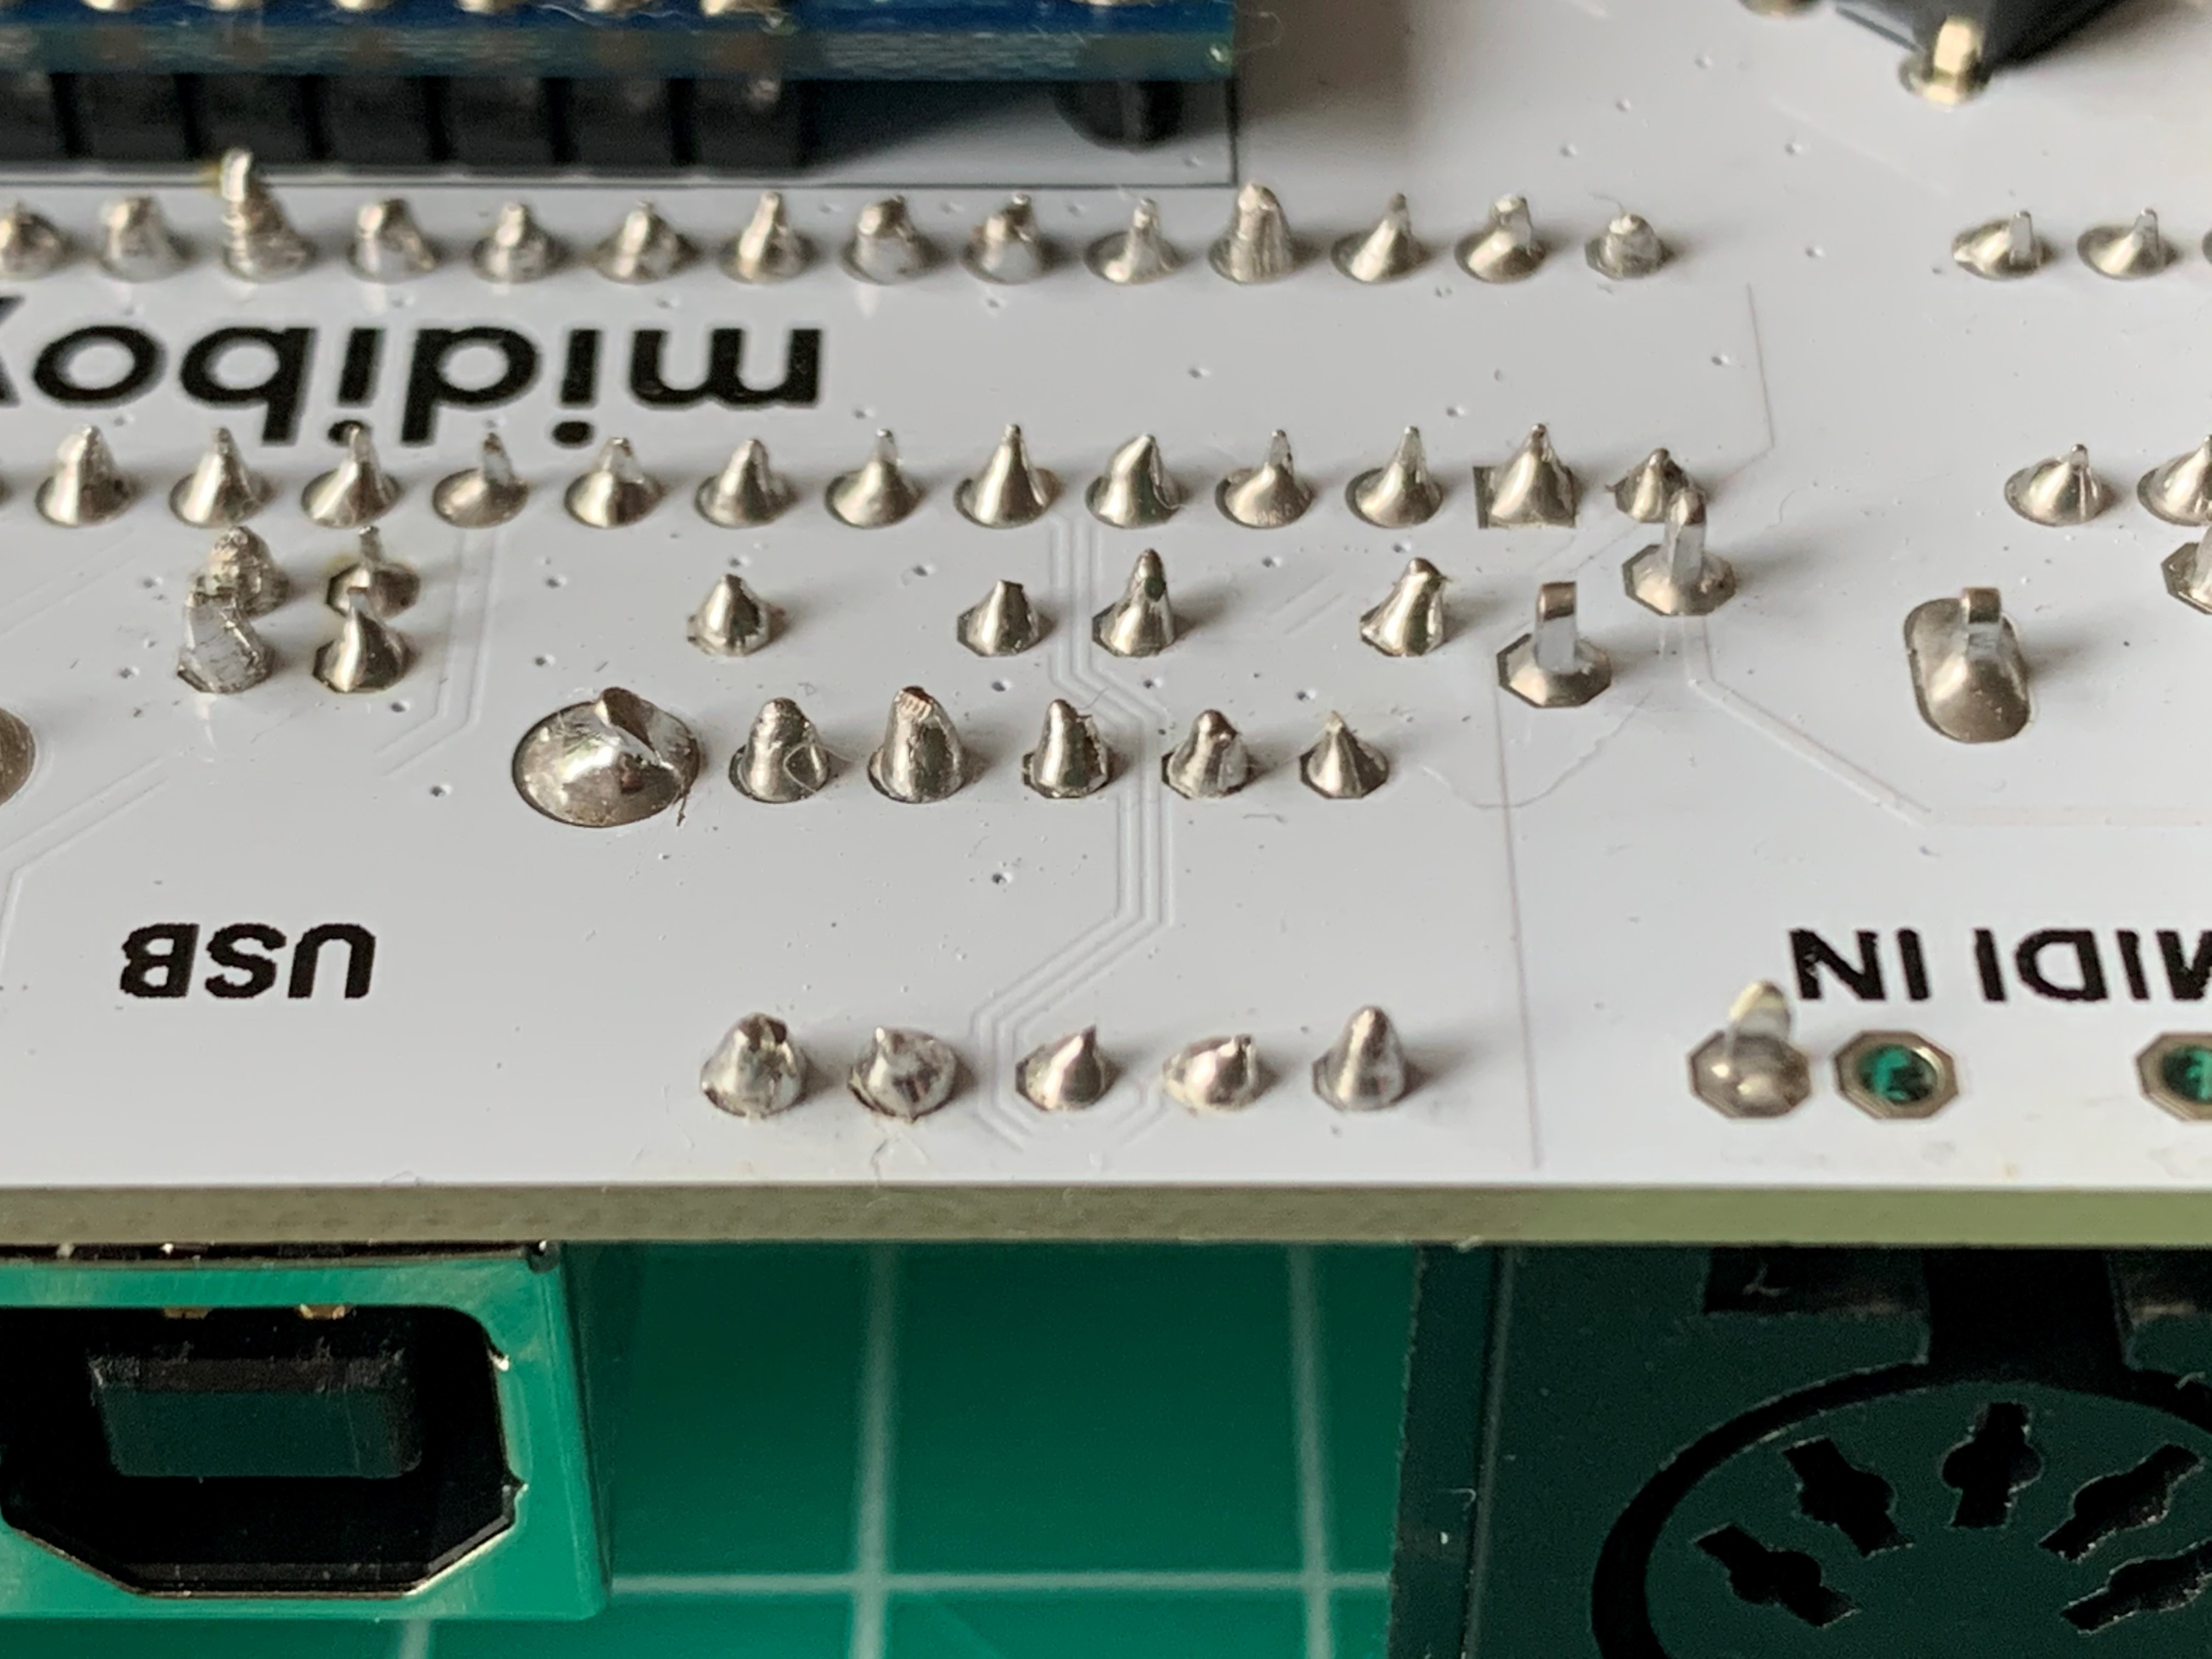
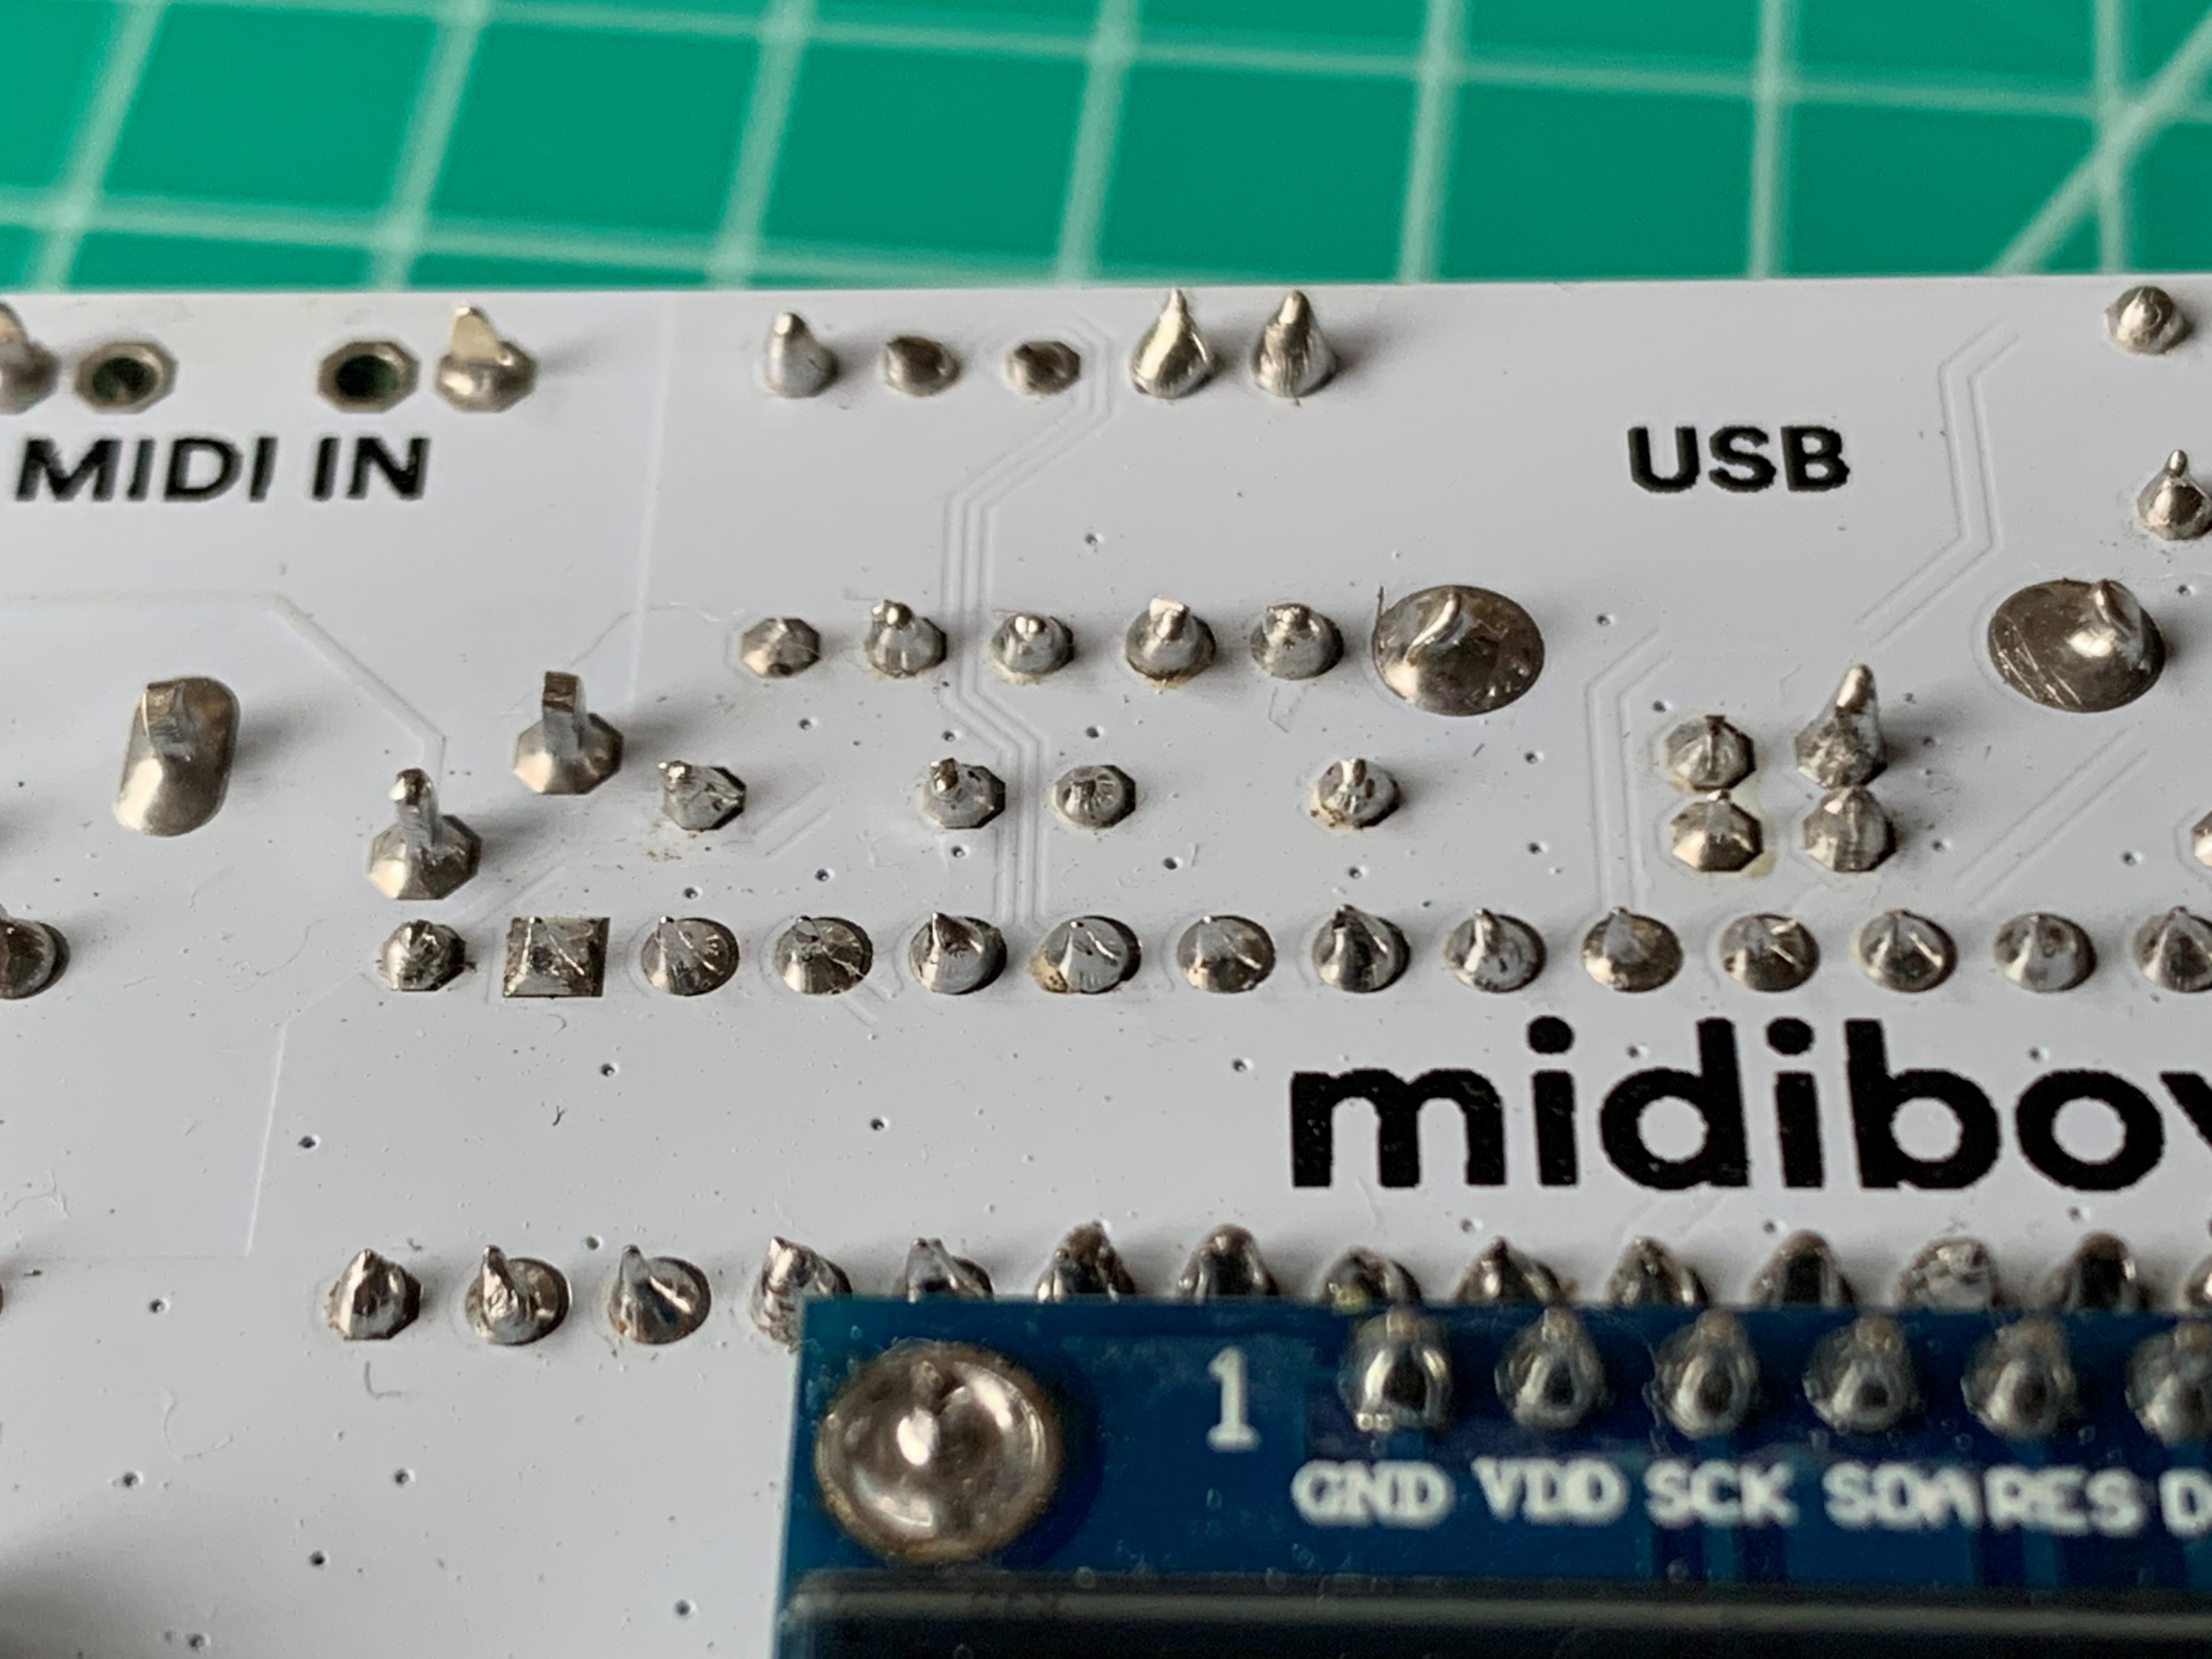
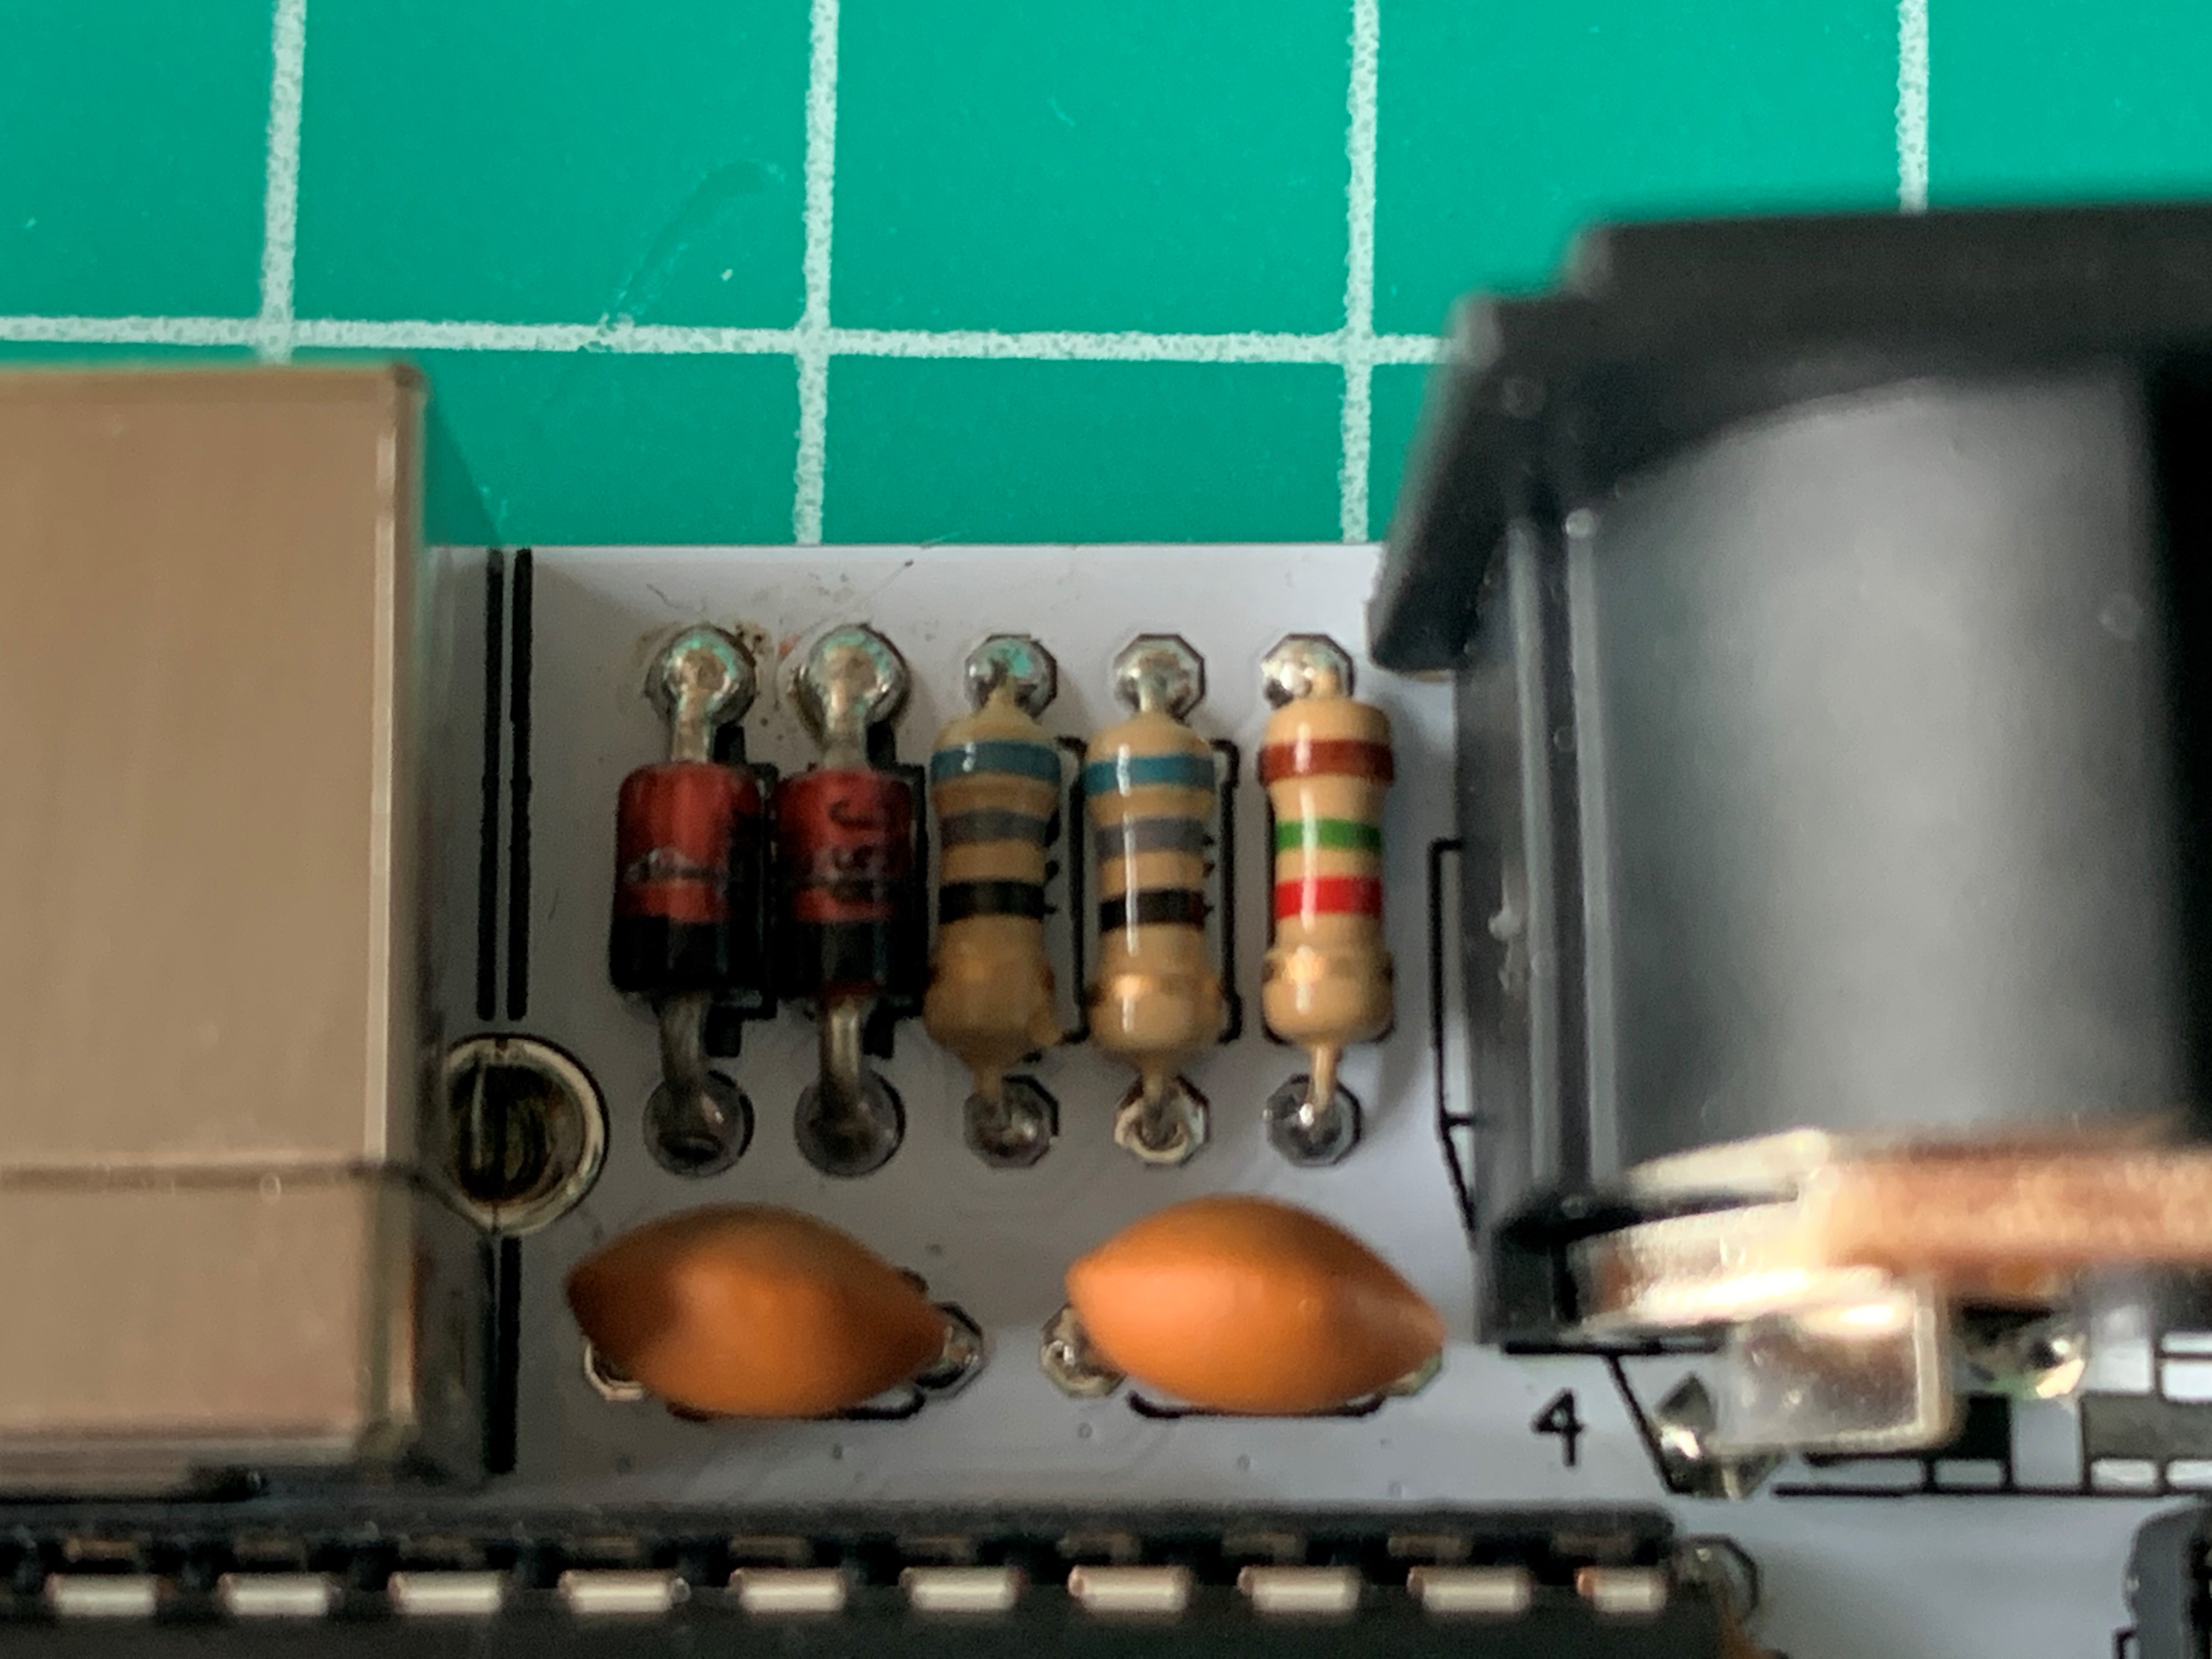
Could you post another photo of circled area at an angle, both sides of the board?
Also, not sure if this is relevant, but when I upload the Midiboy bootloader using the UNO ISP I get some avrdude warnings in the log that seem to be related to fuses. For example:
avrdude: verifying … avrdude: WARNING: invalid value for unused bits in fuse “lock”, should be set to 1 according to datasheet This behaviour is deprecated and will result in an error in future version You probably want to use 0x3f instead of 0xff (double check with your datasheet first). avrdude: 1 bytes of lock verified avrdude: reading input file “0xFD”
However avrdude still finishes the bootloader upload process with the message “avrdude done. Thank you.” and no errors are reported.
I’ve been playing around with a sketch located here (Gammon Forum : Electronics : Microprocessors : Sketch to detect Atmega chip types) that returns info on the bootloader and fuses etc. It seems that when I upload the Midimon sketch the Midiboy bootloader gets wiped. But when I re-flash the Midiboy bootloader, the Midimon sketch gets wiped. I can’t seem to get both the bootloader and the sketch on the chip at the same time using the UNO ISP! (note that when the Midiboy bootloader has been flashed, I get the Blokas logo on the Midiboy screen but still get the “Unknown USB device” when directly connecting the Midiboy via USB to Windows)
Perhaps this has something to do with it?
Here is the output from the Gammon sketch after flashing the Midiboy bootloader:
Atmega chip detector.
Written by Nick Gammon.
Version 1.20
Compiled on Mar 10 2021 at 10:31:16 with Arduino IDE 10813.
Attempting to enter ICSP programming mode …
Entered programming mode OK.
Signature = 0x1E 0x95 0x0F
Processor = ATmega328P
Flash memory size = 32768 bytes.
LFuse = 0xCE
HFuse = 0xD8
EFuse = 0xFD
Lock byte = 0xFF
Clock calibration = 0xAB
Bootloader in use: Yes
EEPROM preserved through erase: No
Watchdog timer always on: No
Bootloader is 4096 bytes starting at 7000
This is expected - the default state normally would be for the bootloader to be in the chip’s memory, further flashing is supposed to occur via the USB, bootloader would write the incoming program at the correct location in order not to write over itself.
I’ve looked through the new pictures and I don’t think I can see anything wrong there. Maybe there’s a little bit more than necessary solder on the diodes, but I doubt it’s easy to damage these components.
It seems the USB device is only recognised on a USB 2.0 port (or below?). All the USB ports on my 2 Windows PC’s must be USB 3.0. So I dug out a very old USB 2.0 hub I had lying around and connected the Midiboy via the USB 2.0 hub. Uploading sketches via the Arduino IDE using USBasp failed, so I then had to install the Zadig USBasp driver to get Windows 10 to “see it” properly, and hey presto, it worked!
Good to hear it finally gets recognized at least with a hub in between!
It does work with USB 3 ports on my computer though, so the underlying issue why it doesn’t get recognized by your computer directly must be something else…
Built my MIDIboy today and I had the same problem with a not properly recognized USB device on Linux. The port showed up, but with loads of kernel errors. The described solution of using a USB 2.0 port solved my problem. I actually just put a cheap (unpowered) USB 2.0 hub between the MIDIboy and the computer, and everything works. As USB connectivity problems seem to be common with this otherwise awesome kit, I think it might be good to have an “official” USB troubleshooting page / link somewhere, that lists possible solutions to this problem. Maybe the “Midiboy Software” section would be a good place for this ?
We don’t yet know well enough how often such issues occur, and whether the same solution(s) apply, so currently we’d prefer users contacting us directly or posting here, so we can help troubleshoot, and at the same time get a clearer picture of the situation.
I’m having this problem with my new Midiboy on MacOS (Ventura). Compile works fine for midimon, for example, but upload has the following error. I’ve tried USB 3 and USB 2 hubs. This is Arduino IDE 2, but the same error on the legacy IDE. No USB port shows up when turn the midiboy on. Any ideas?
     Using Port                           : USB
     Using Programmer              : usbasp
     Overriding Baud Rate          : 115200
avrdude: error: could not find USB device with vid=0x16c0 pid=0x5dc vendor=‘www.fischl.de’ product=‘USBasp’
Does the Blokas logo appear in Midiboy when it’s powered on? Usually these USB connection issues are caused by some physical fault in the electronics, please double check all the areas marked in this post: USB Device Not Recognised - #5 by Giedrius
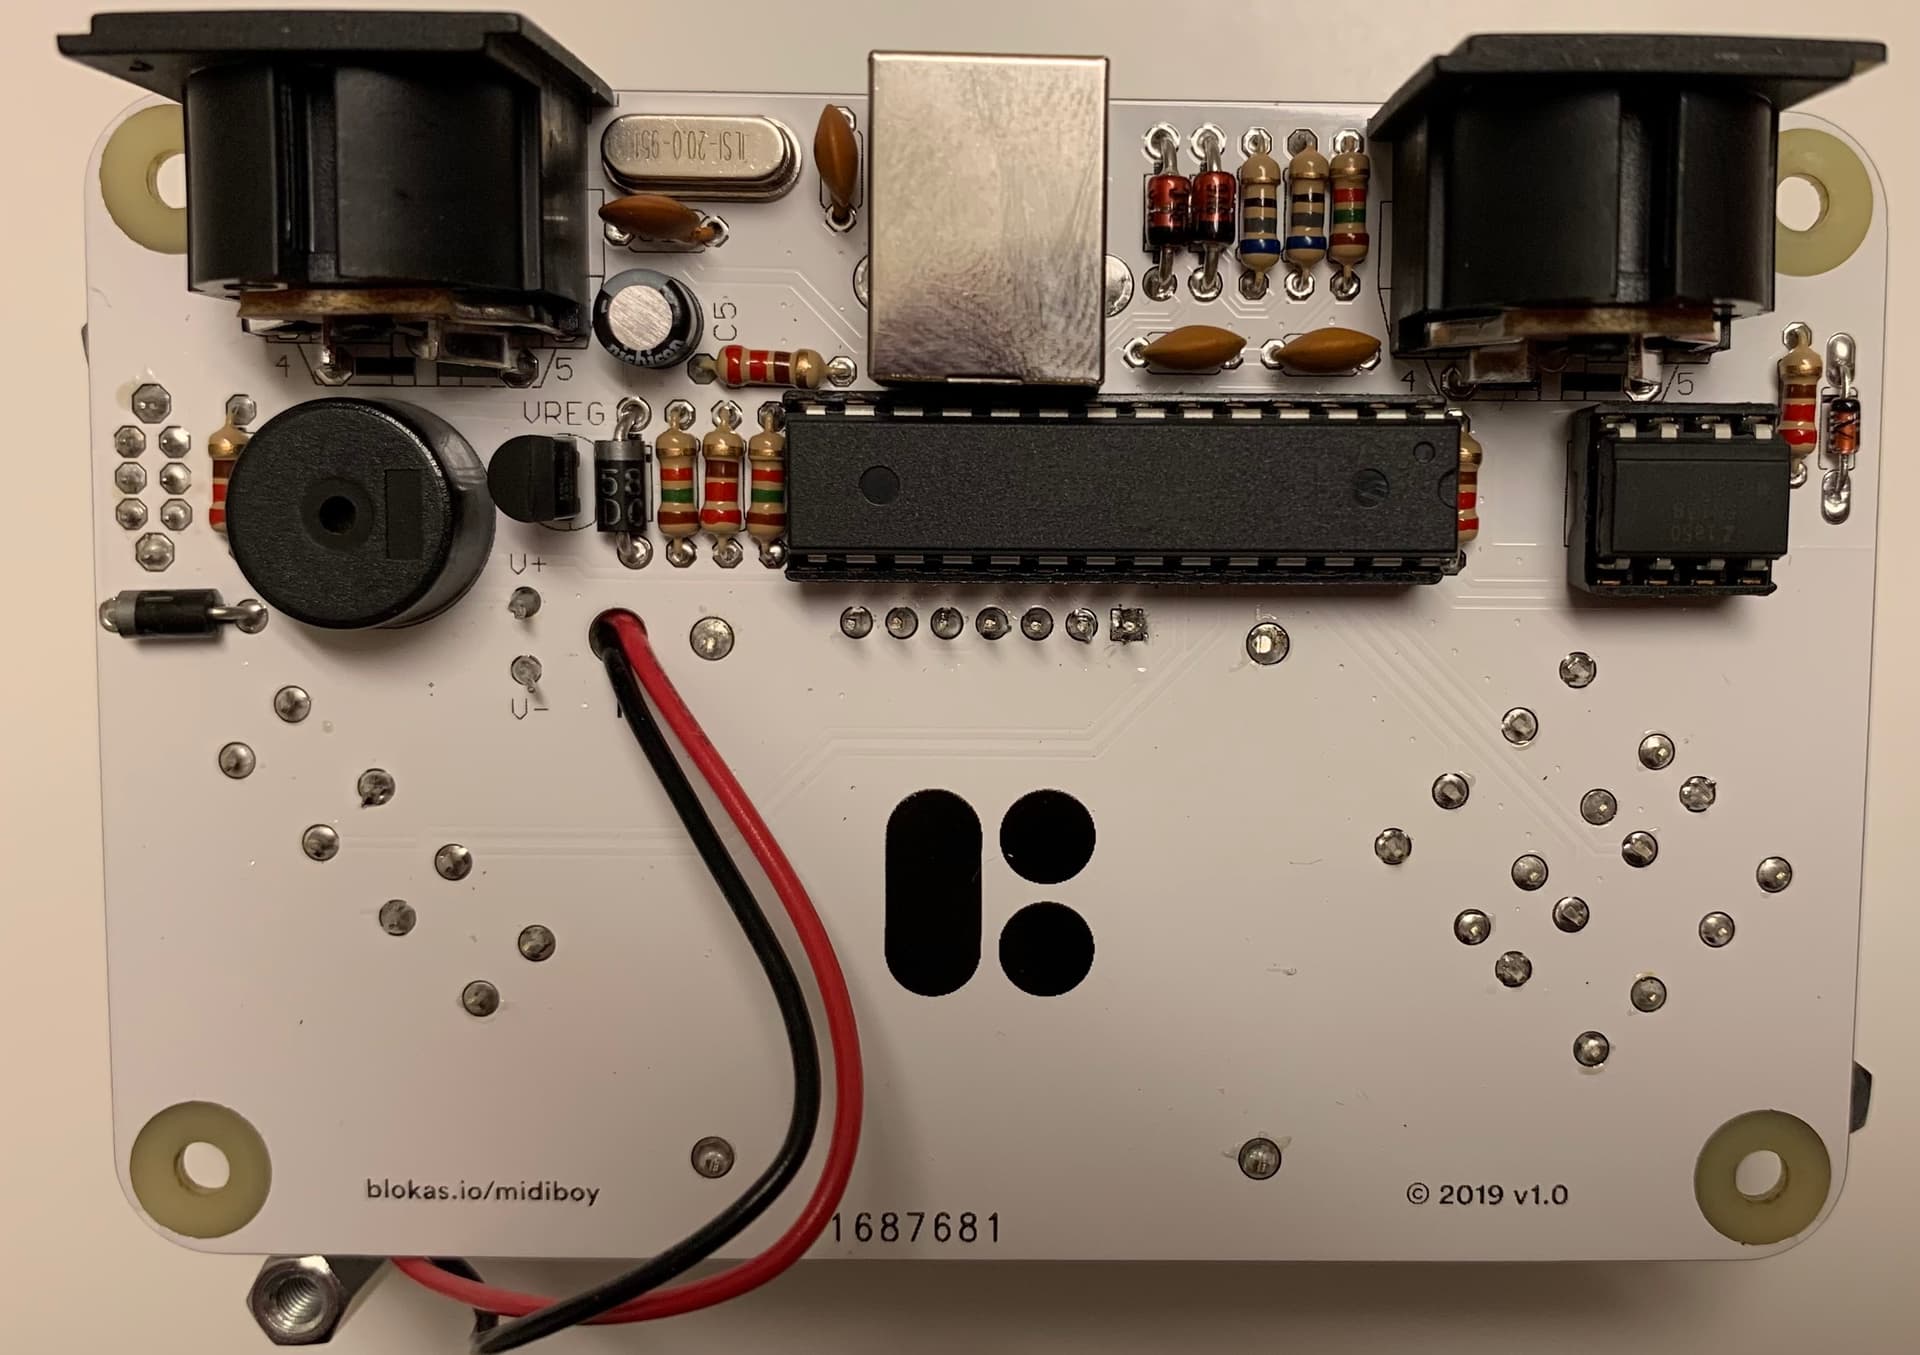
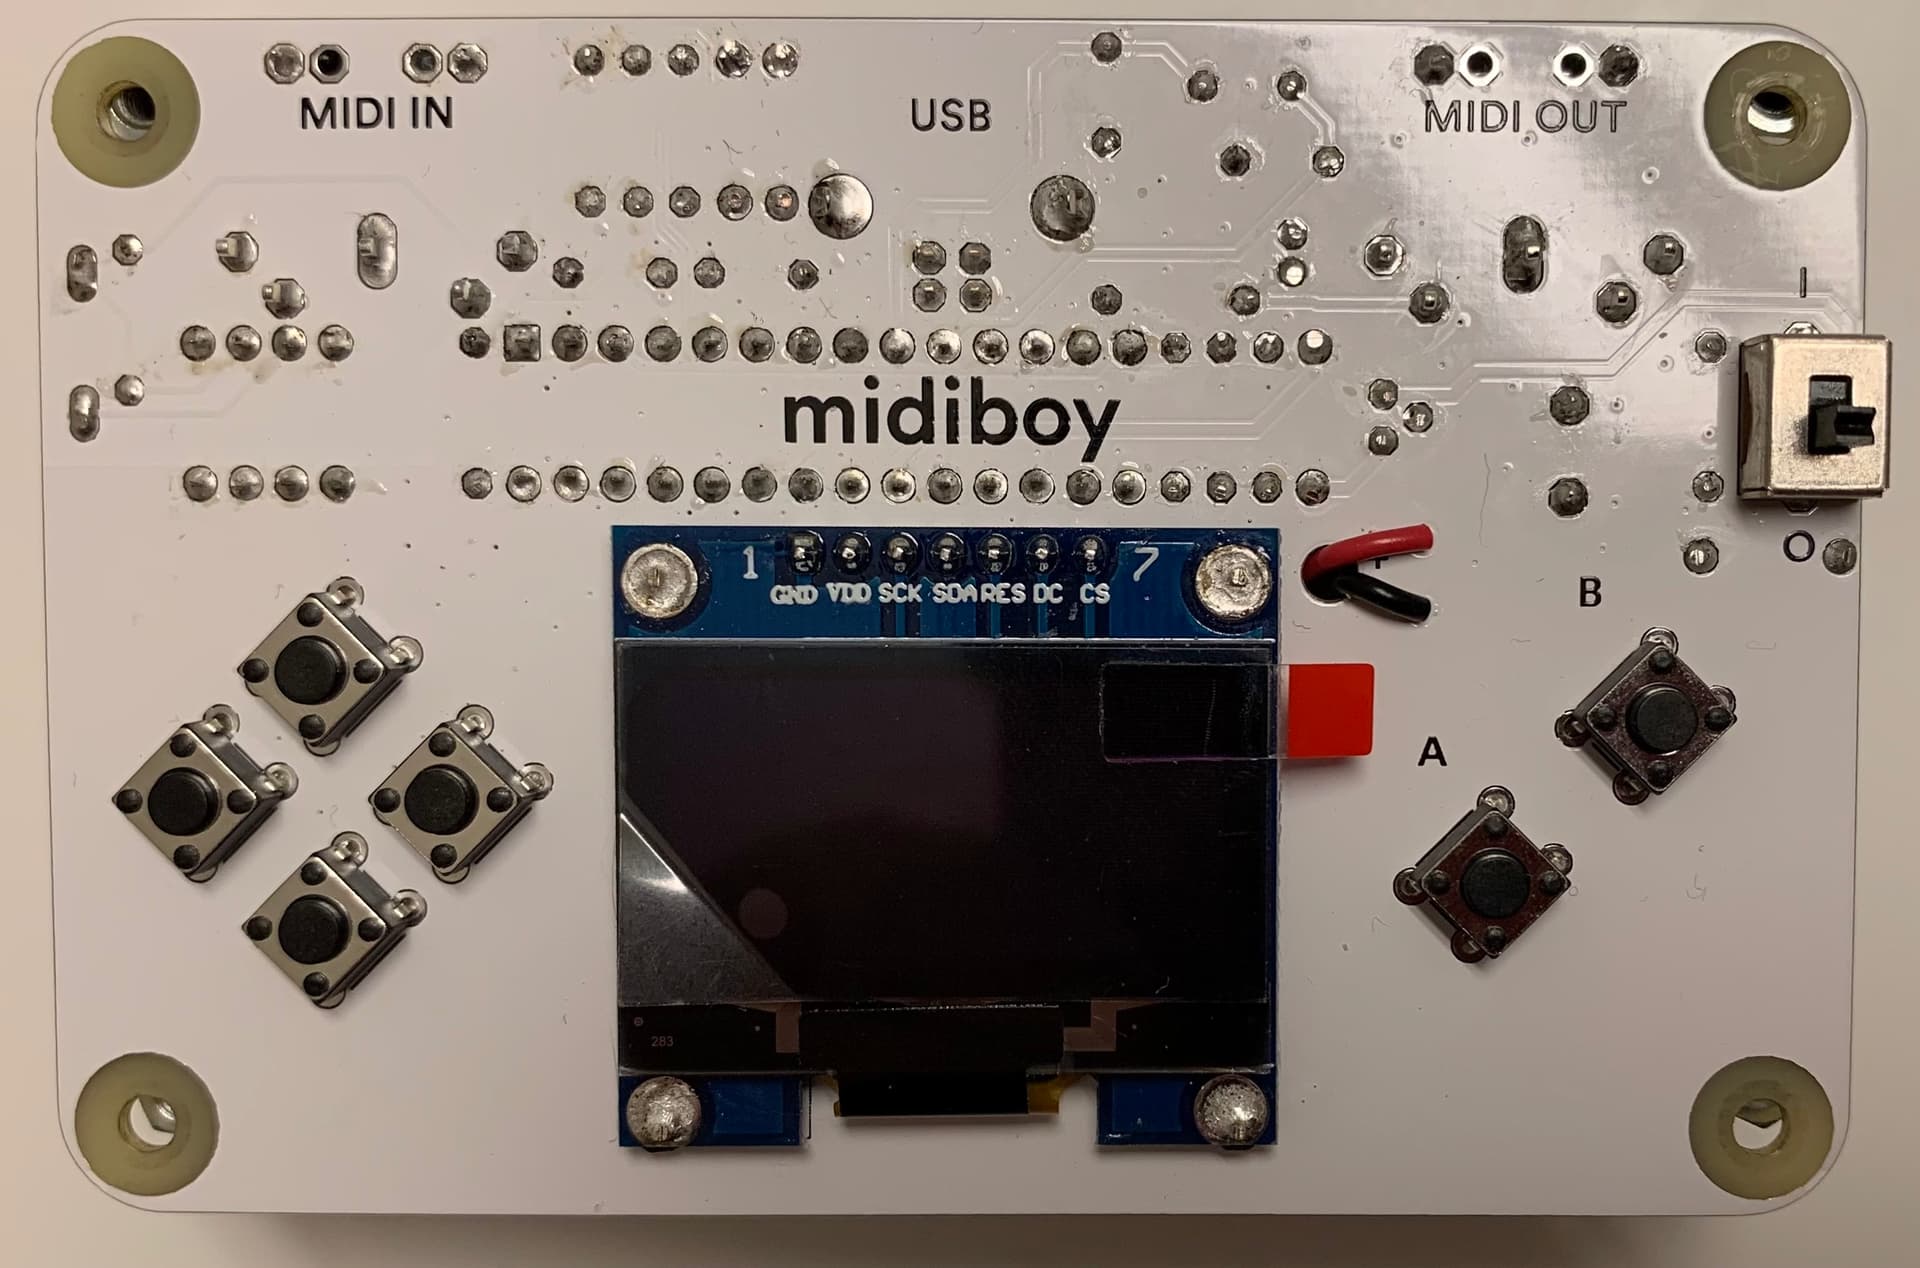
You may post photos of your board here for inspection.
Thanks for your quick reply! Here are photos. The Blokas logo appears with a short blink when I turn Midiboy on. When I hold the “B” button down, when I power on, the logo comes on without the blink.
I searched the forum and saw that it’s usually a physical problem. I’ve tried everything I can think of, but I’m famous for overlooking the obvious! So far I’ve:
Inspected the board to check that all of the polarized components are in the correct orientation
Reheated all the solder joints
Tried multiple USB cables
Used USB 2.0 hub/USB 3.0 hub/Straight connection to my USB port
Tried with/without the opto-isolator installed
Traced continuity from the USB cable to the processor pins and measured resistances
Tried Arduino 2 and Arduino 1.8.19
Tried on MacBook Air M1, and an Intel MacBook Air
I was even able to burn the bootloader onto another 328P chip and install that (!)
All with the same results.
I looked at trying to slow down the speed of the USBasp transmission, but Arduino hides this pretty well and I haven’t found the right place to adjust it.
So, if you can see my problem or have any other ideas, it might keep me from going crazy today!
OK. Today is not the day I go crazy, apparently. I just tried another USB 2.0 hub and I’m finally able to upload sketches!
One very small thing that now comes up is that I just tried flappy ball and the sound is barely audible, is that normal? (not that games are my priority, but just thought I’d check )
Good to hear you got it working. Yeah, the USB communication is implemented in software via GPIO pin bit banging, as the ATmega328P does not have a peripheral dedicated to USB communication, so it can be a bit sensitive to some USB setups.
The buzzer is sort of dimmed a bit by design, we chose a preset value that’s not too loud, so it doesn’t become annoying too quickly.
Thanks! Yeah. The USB can be a challenge until you figure out what works with your system, but using software, it’s pretty amazing what you’ve been able to do with a relatively simple (and inexpensive) product!